Setup
Without a configuration the wizard starts with an assistant; later, New configuration… in the Active configuration tile opens it. Nine steps lead to the first backup, in about three minutes. The bar on the left shows where you are; Back lets you change any entry, and Continue becomes active once a step is complete.
You need a token from the lionbackup portal, the data to back up, and a place for your private key.
1. Welcome
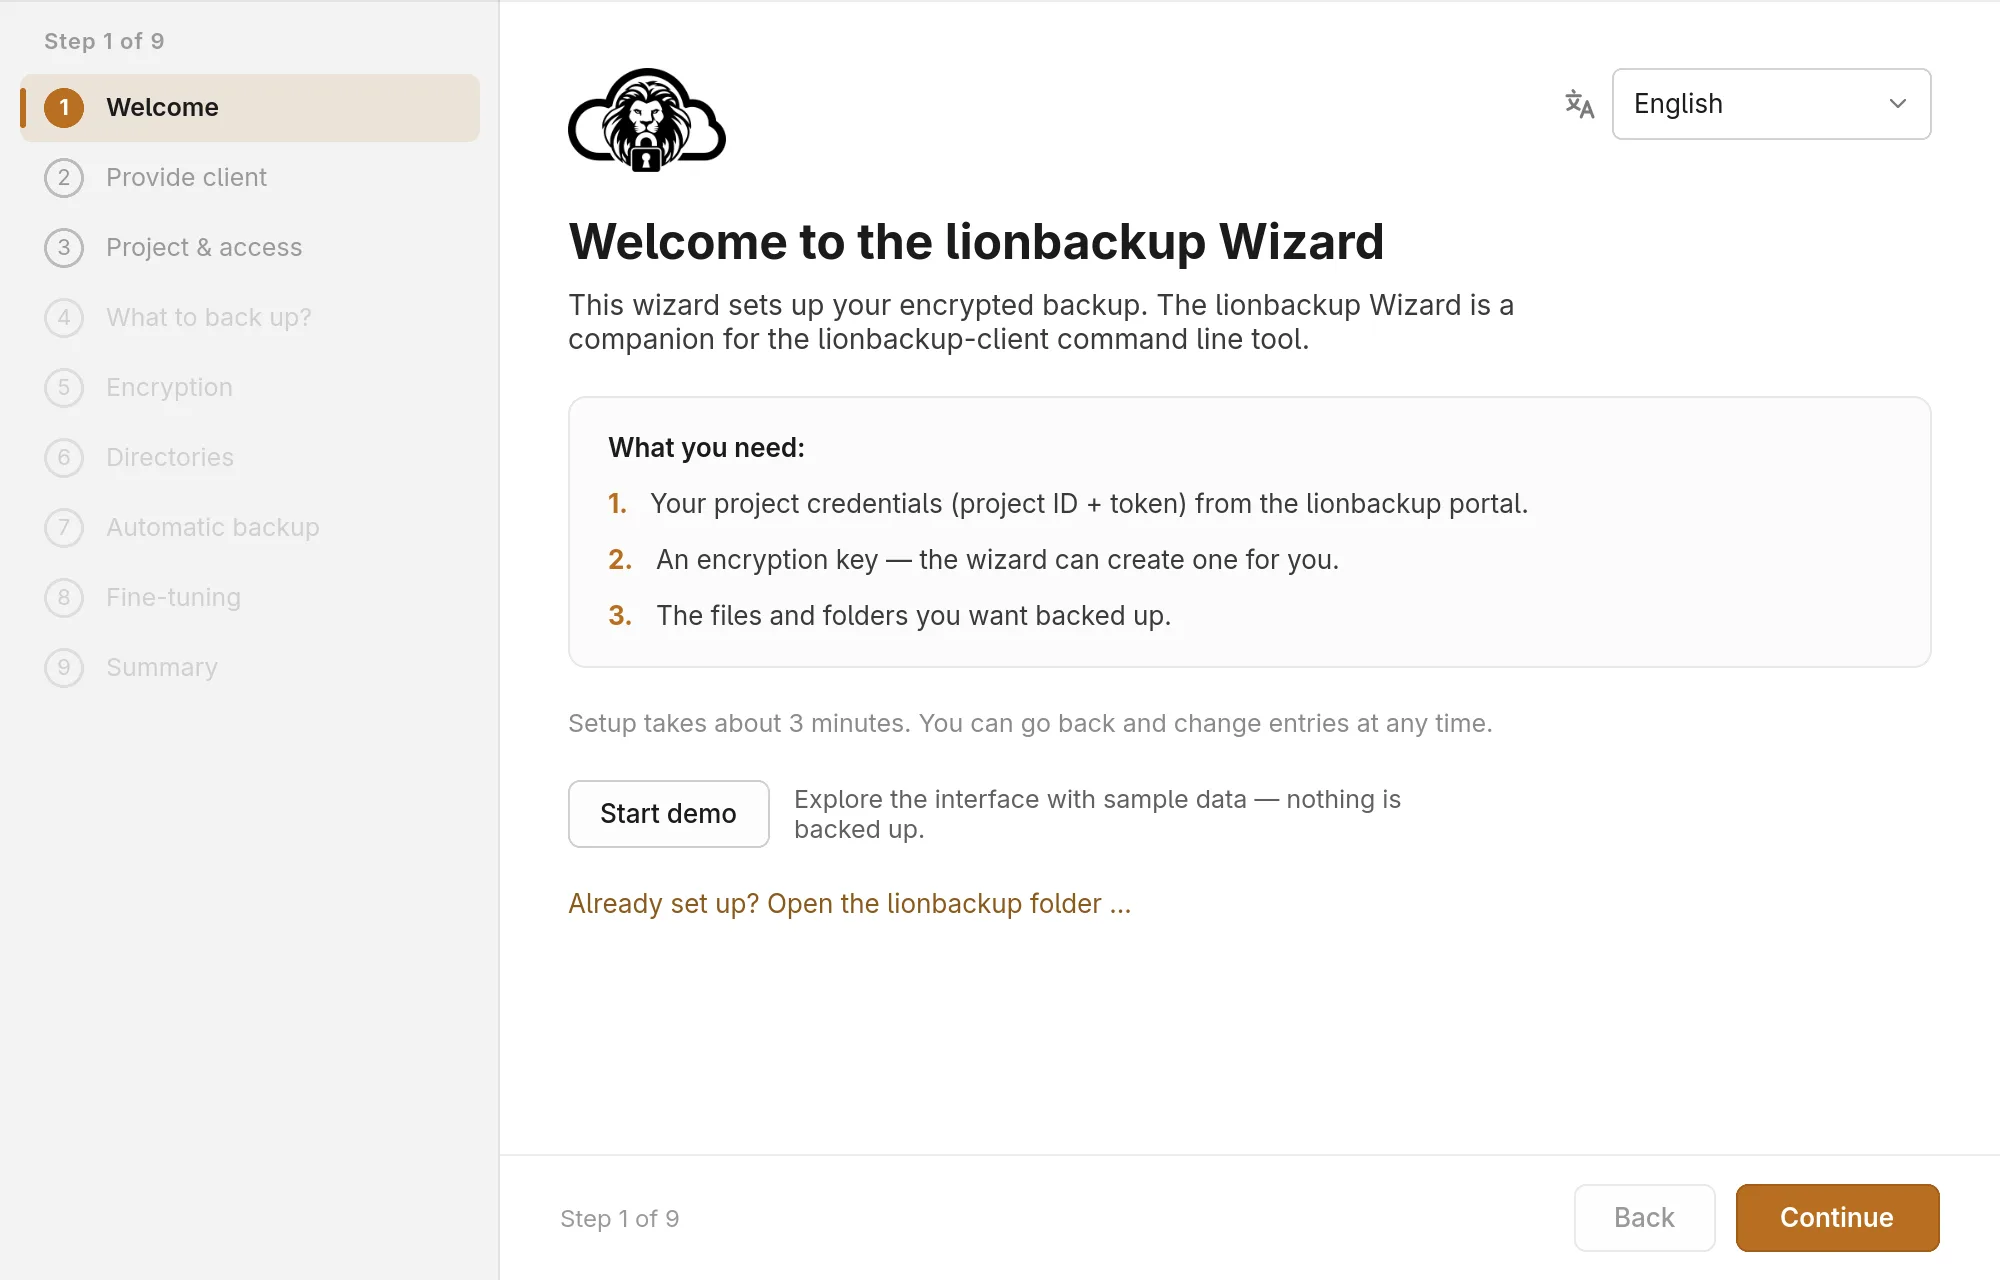
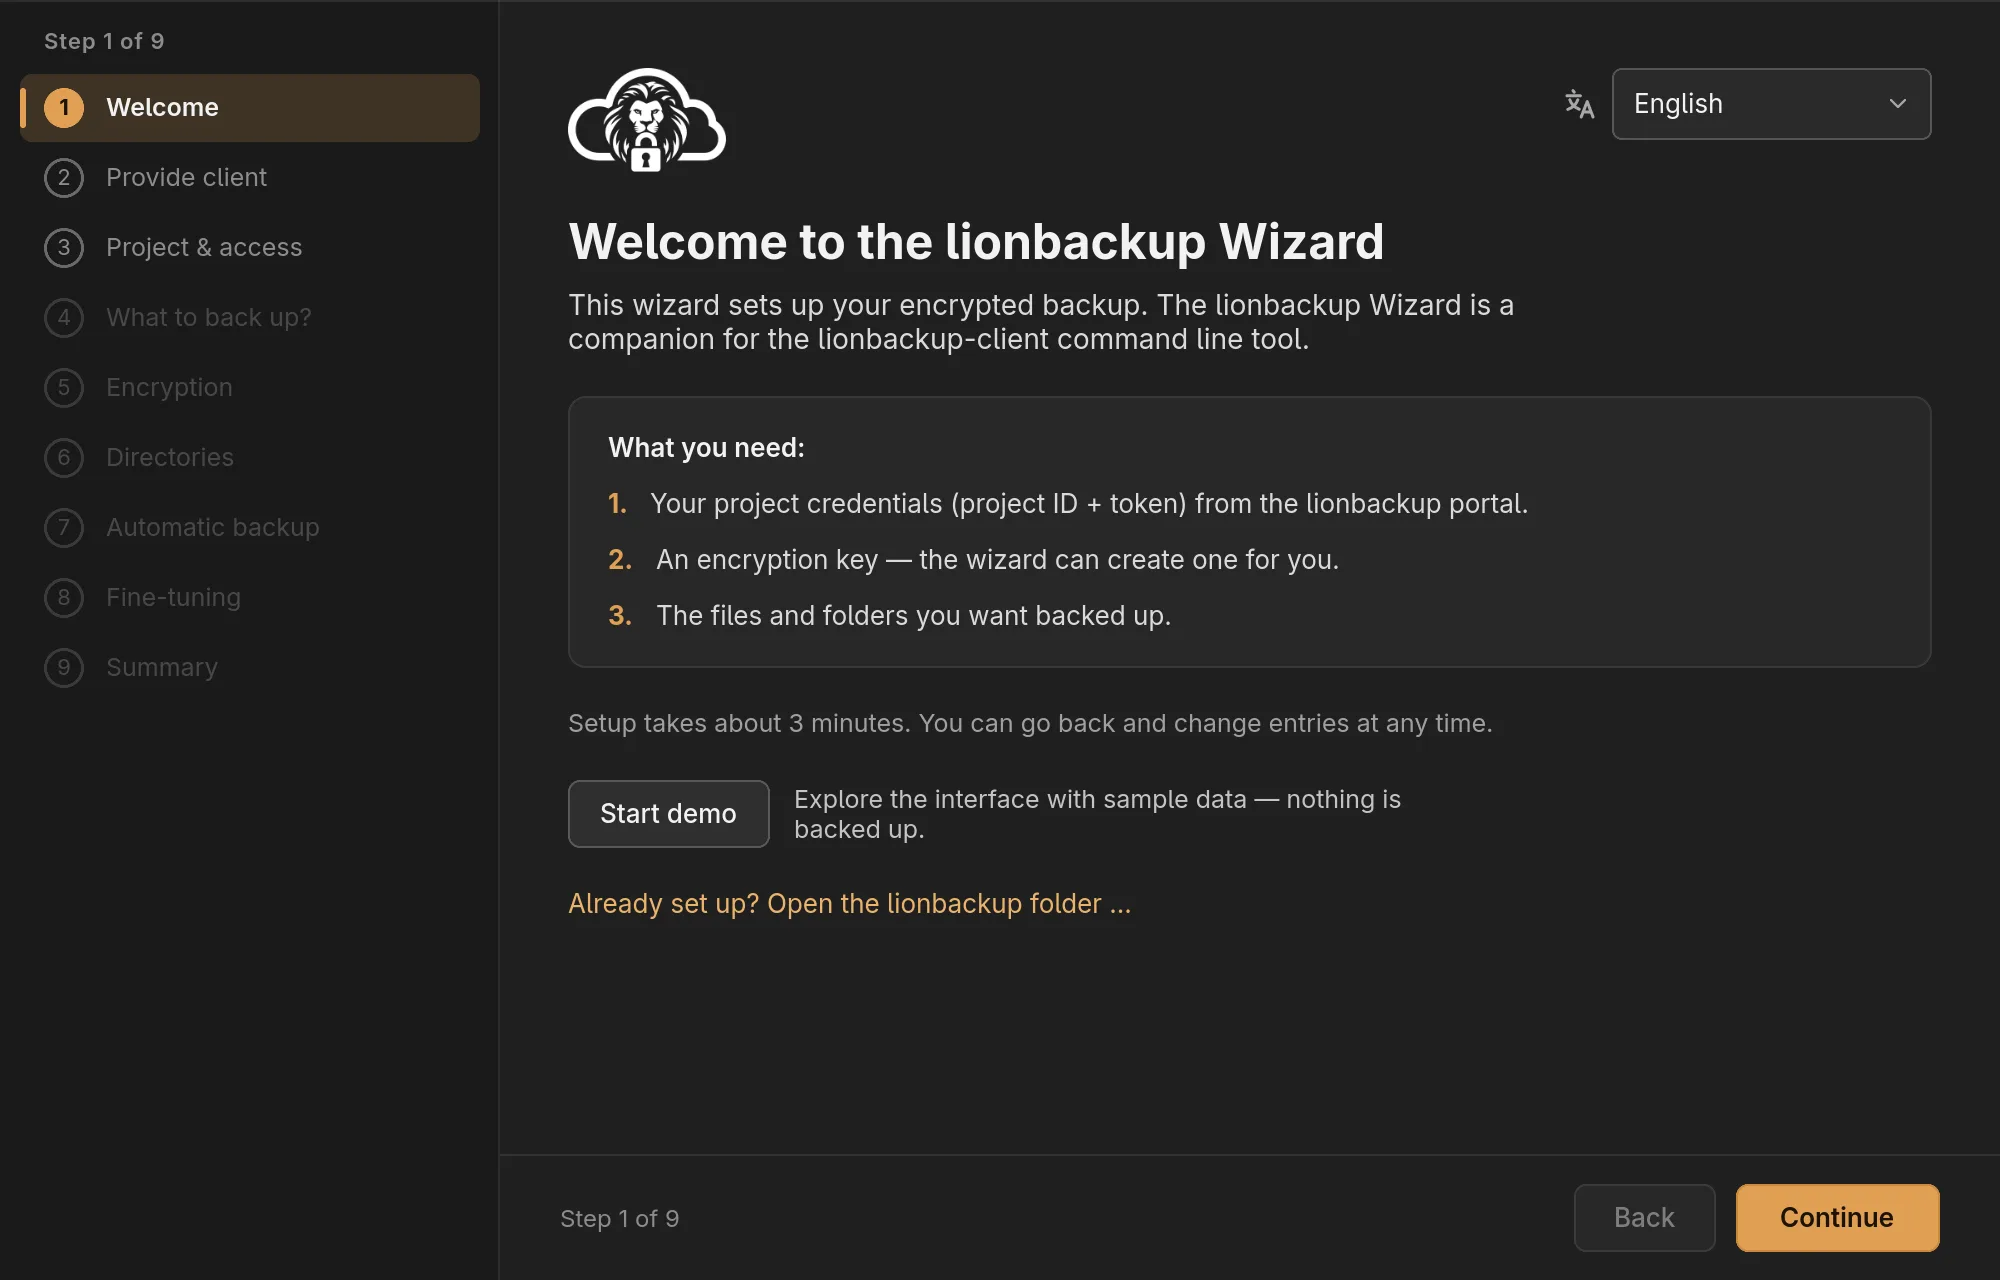
Top right, you choose the language. Start demo shows the wizard with sample data without setting anything up (see Demo mode). If lionbackup is already set up in another folder, open it with Already set up? Open the lionbackup folder ….
2. Provide client
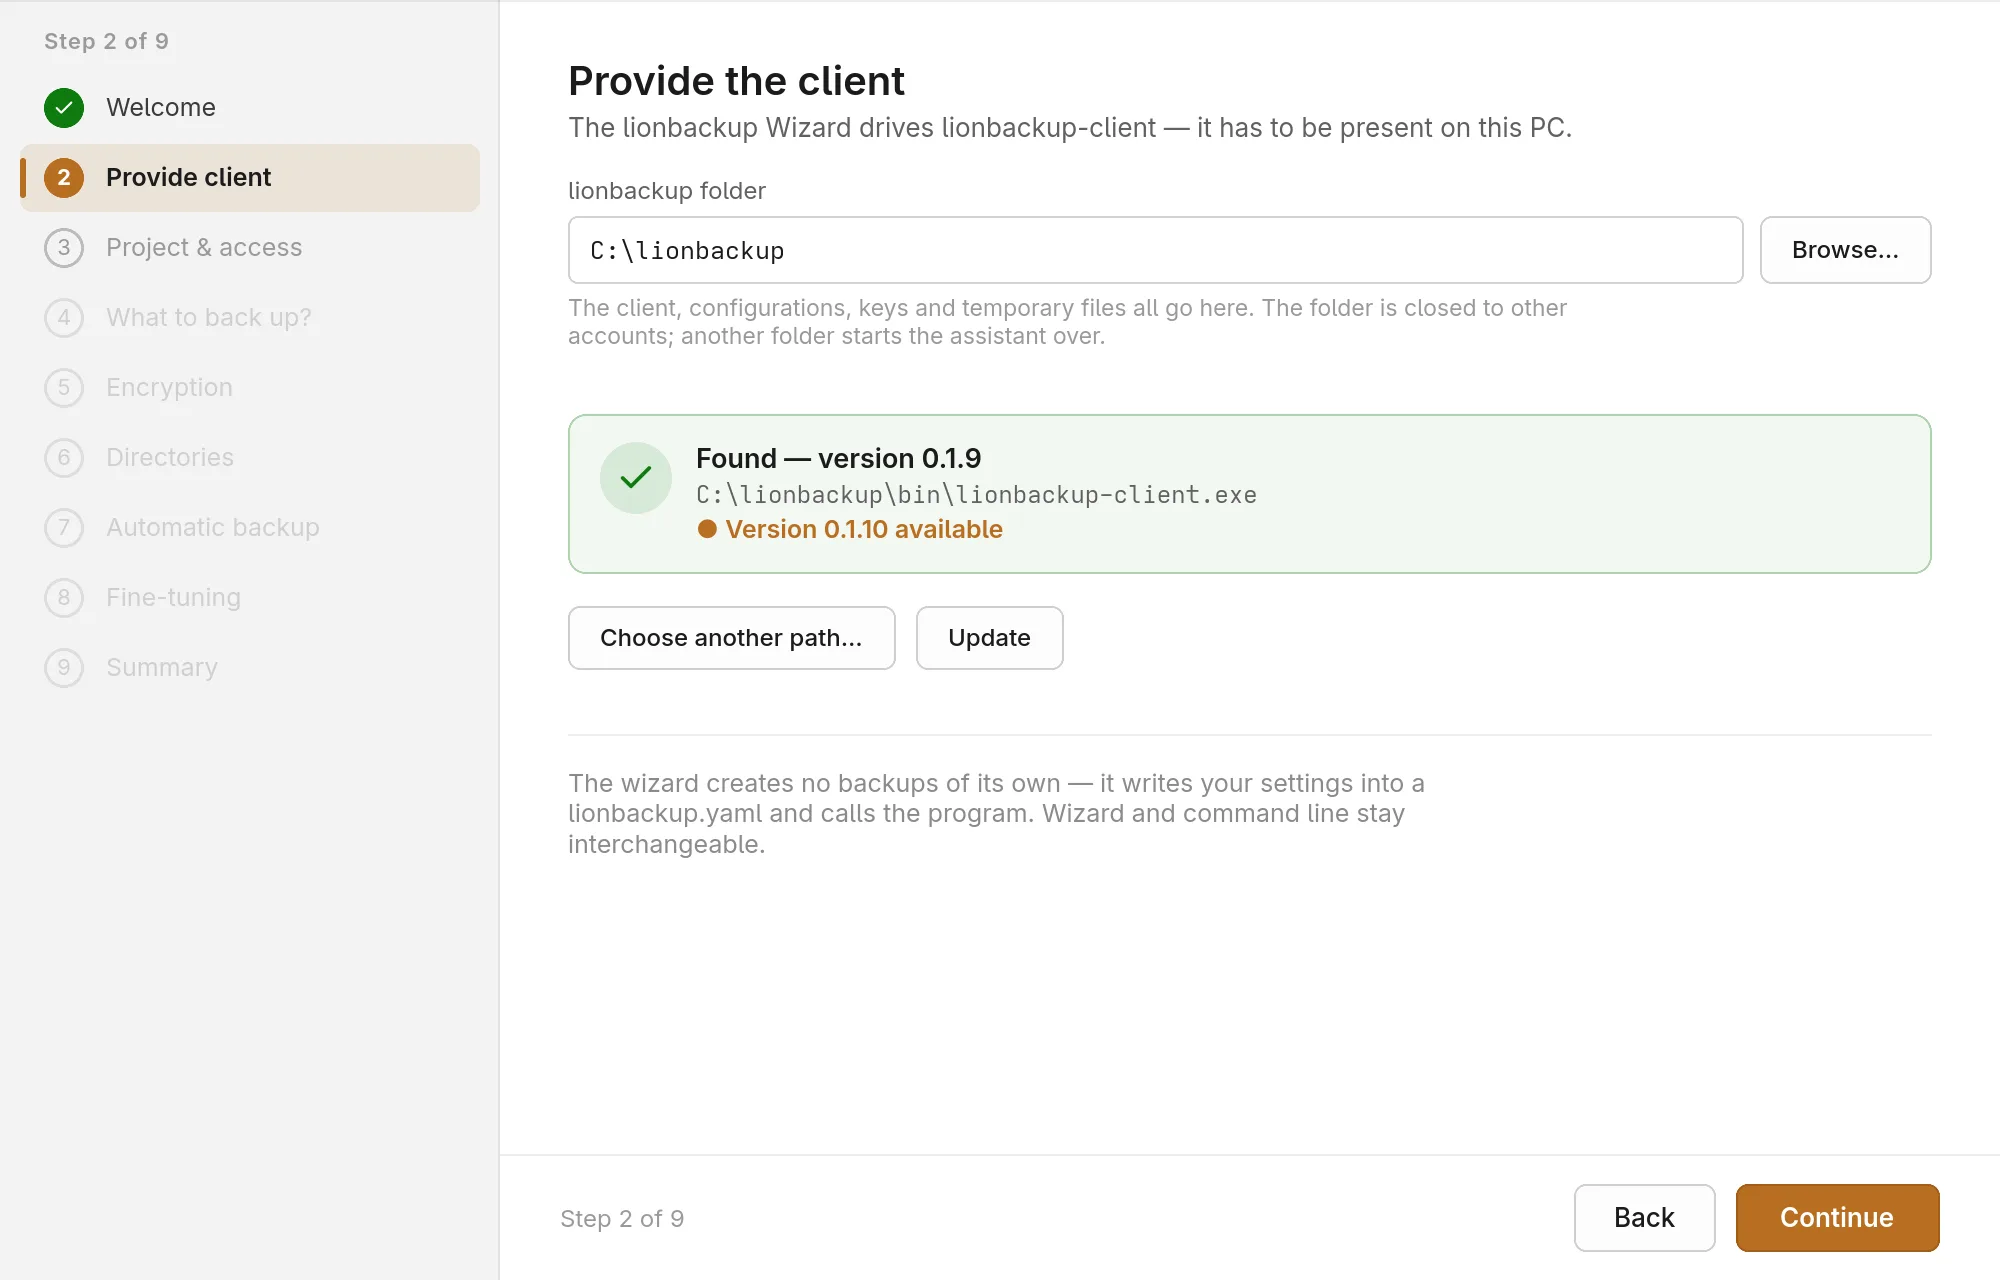
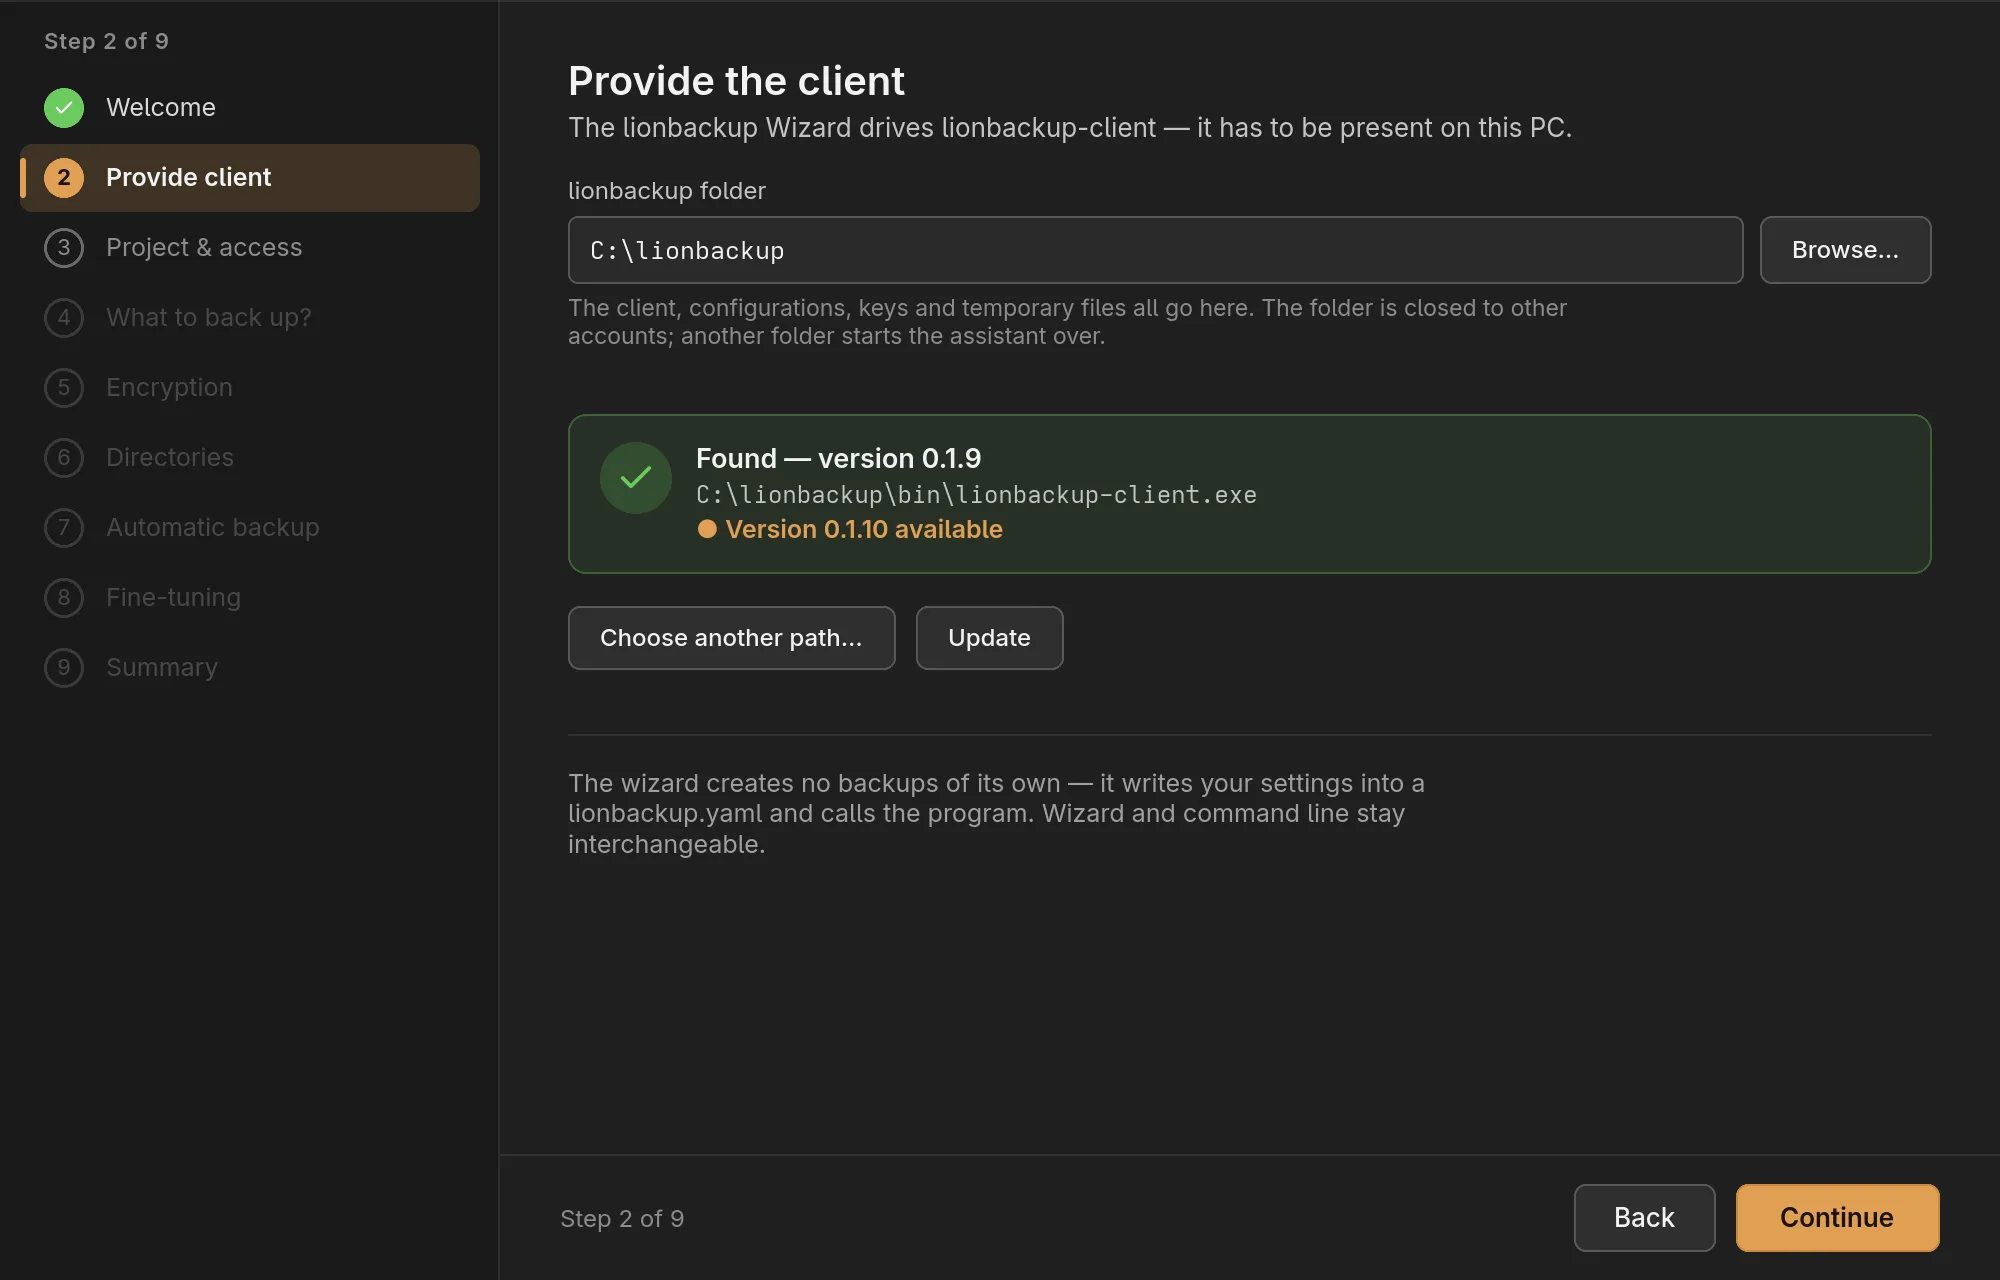
The wizard drives the program lionbackup-client, which must be on this
computer.
- lionbackup folder: where the wizard keeps the client, configurations, keys
and temporary files, by default
C:\lionbackupon Windows. The folder is locked for other accounts; choosing another folder restarts the assistant. - If the wizard finds a client, it shows its version. Otherwise Download fetches it from the download server, checks it against the published checksum and runs it once as a test. If a newer version exists, the wizard offers Update.
- Choose another path… uses a client stored elsewhere.
The wizard needs client 0.1.22 or newer; automatic backups need 0.2.3 or newer.
3. Project & access
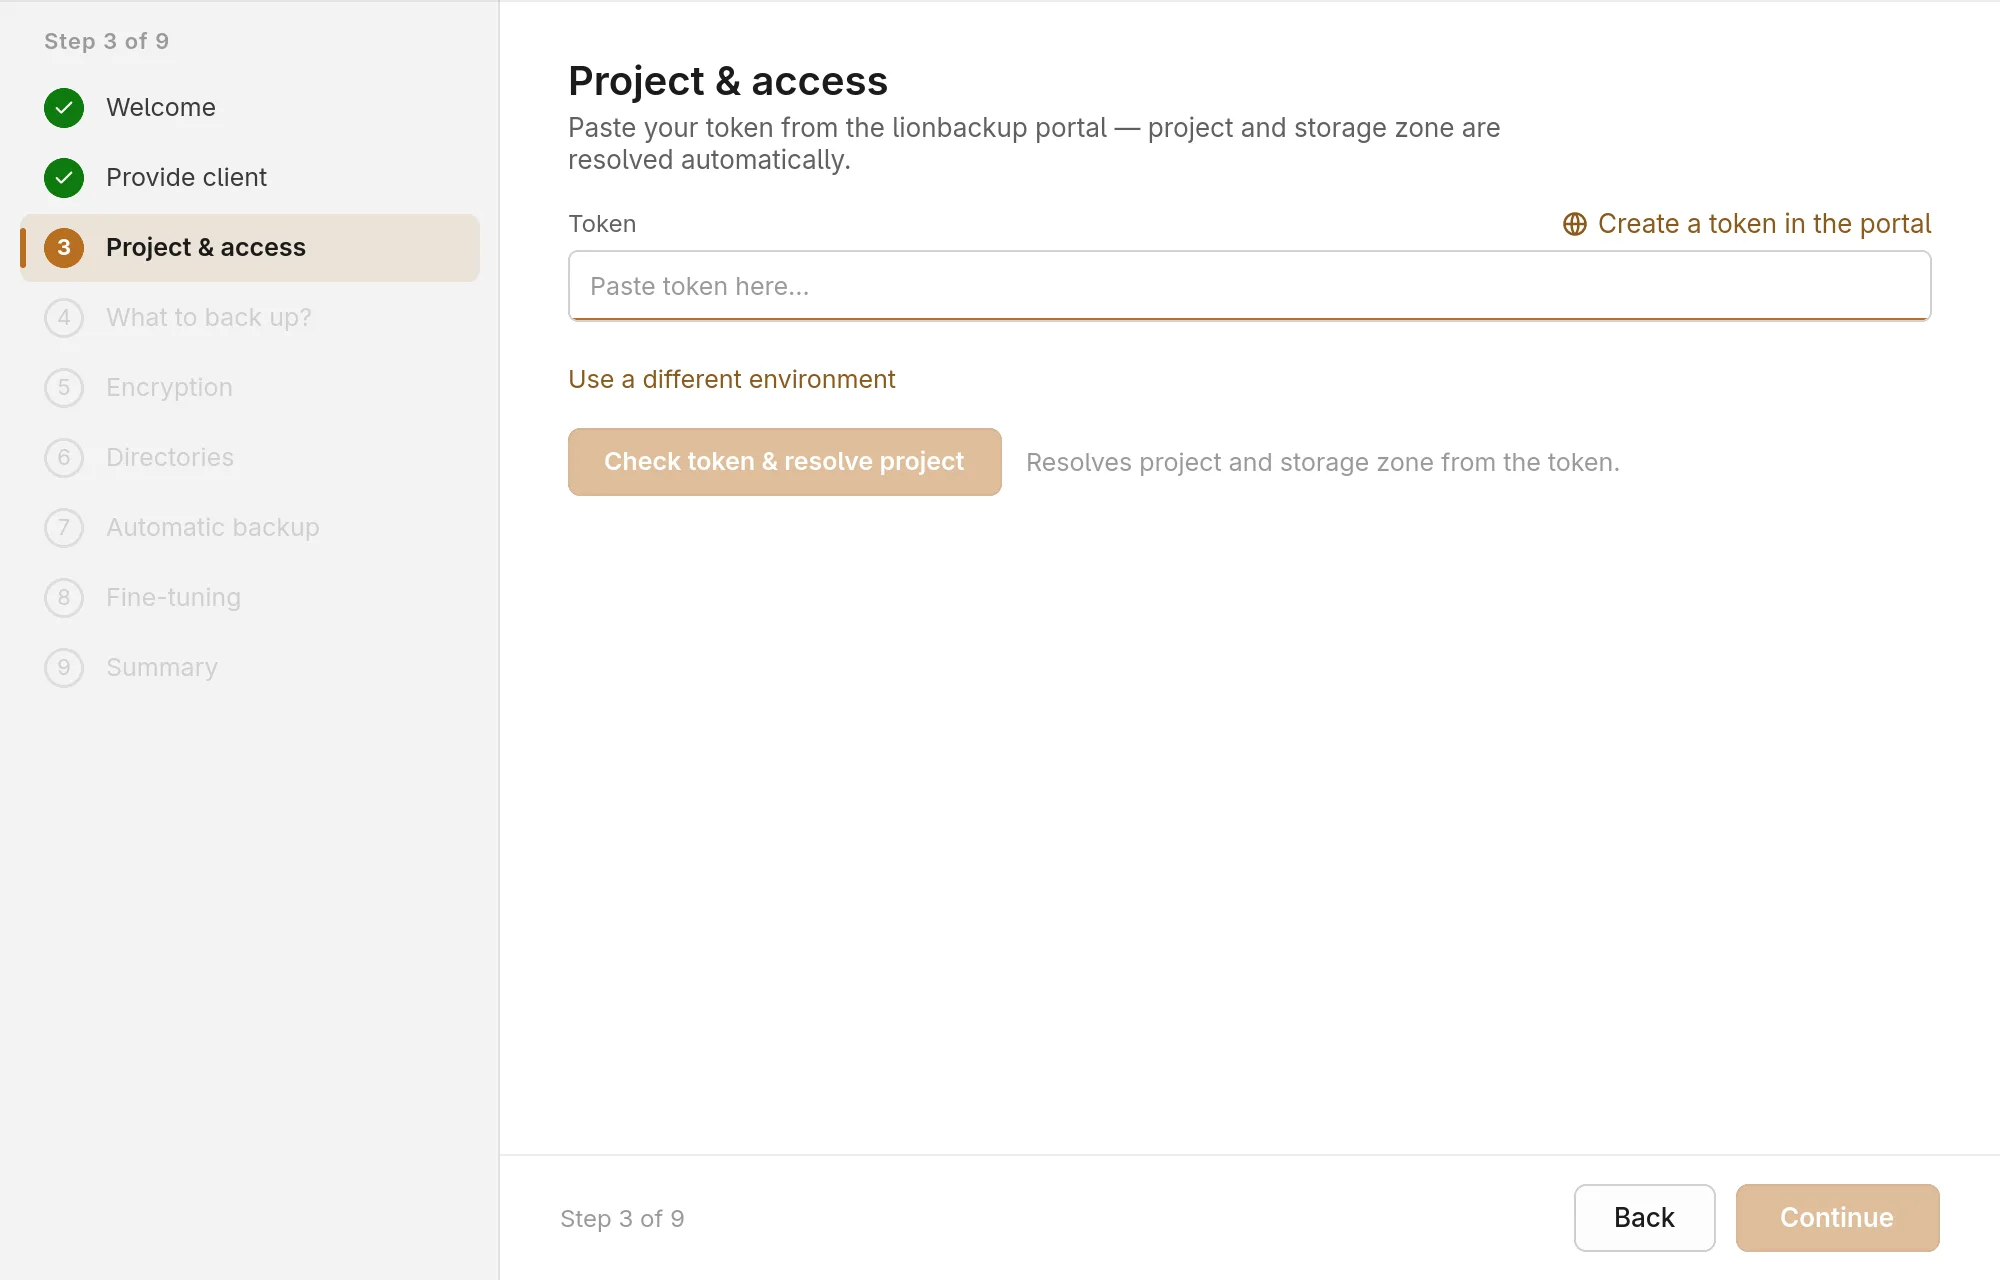
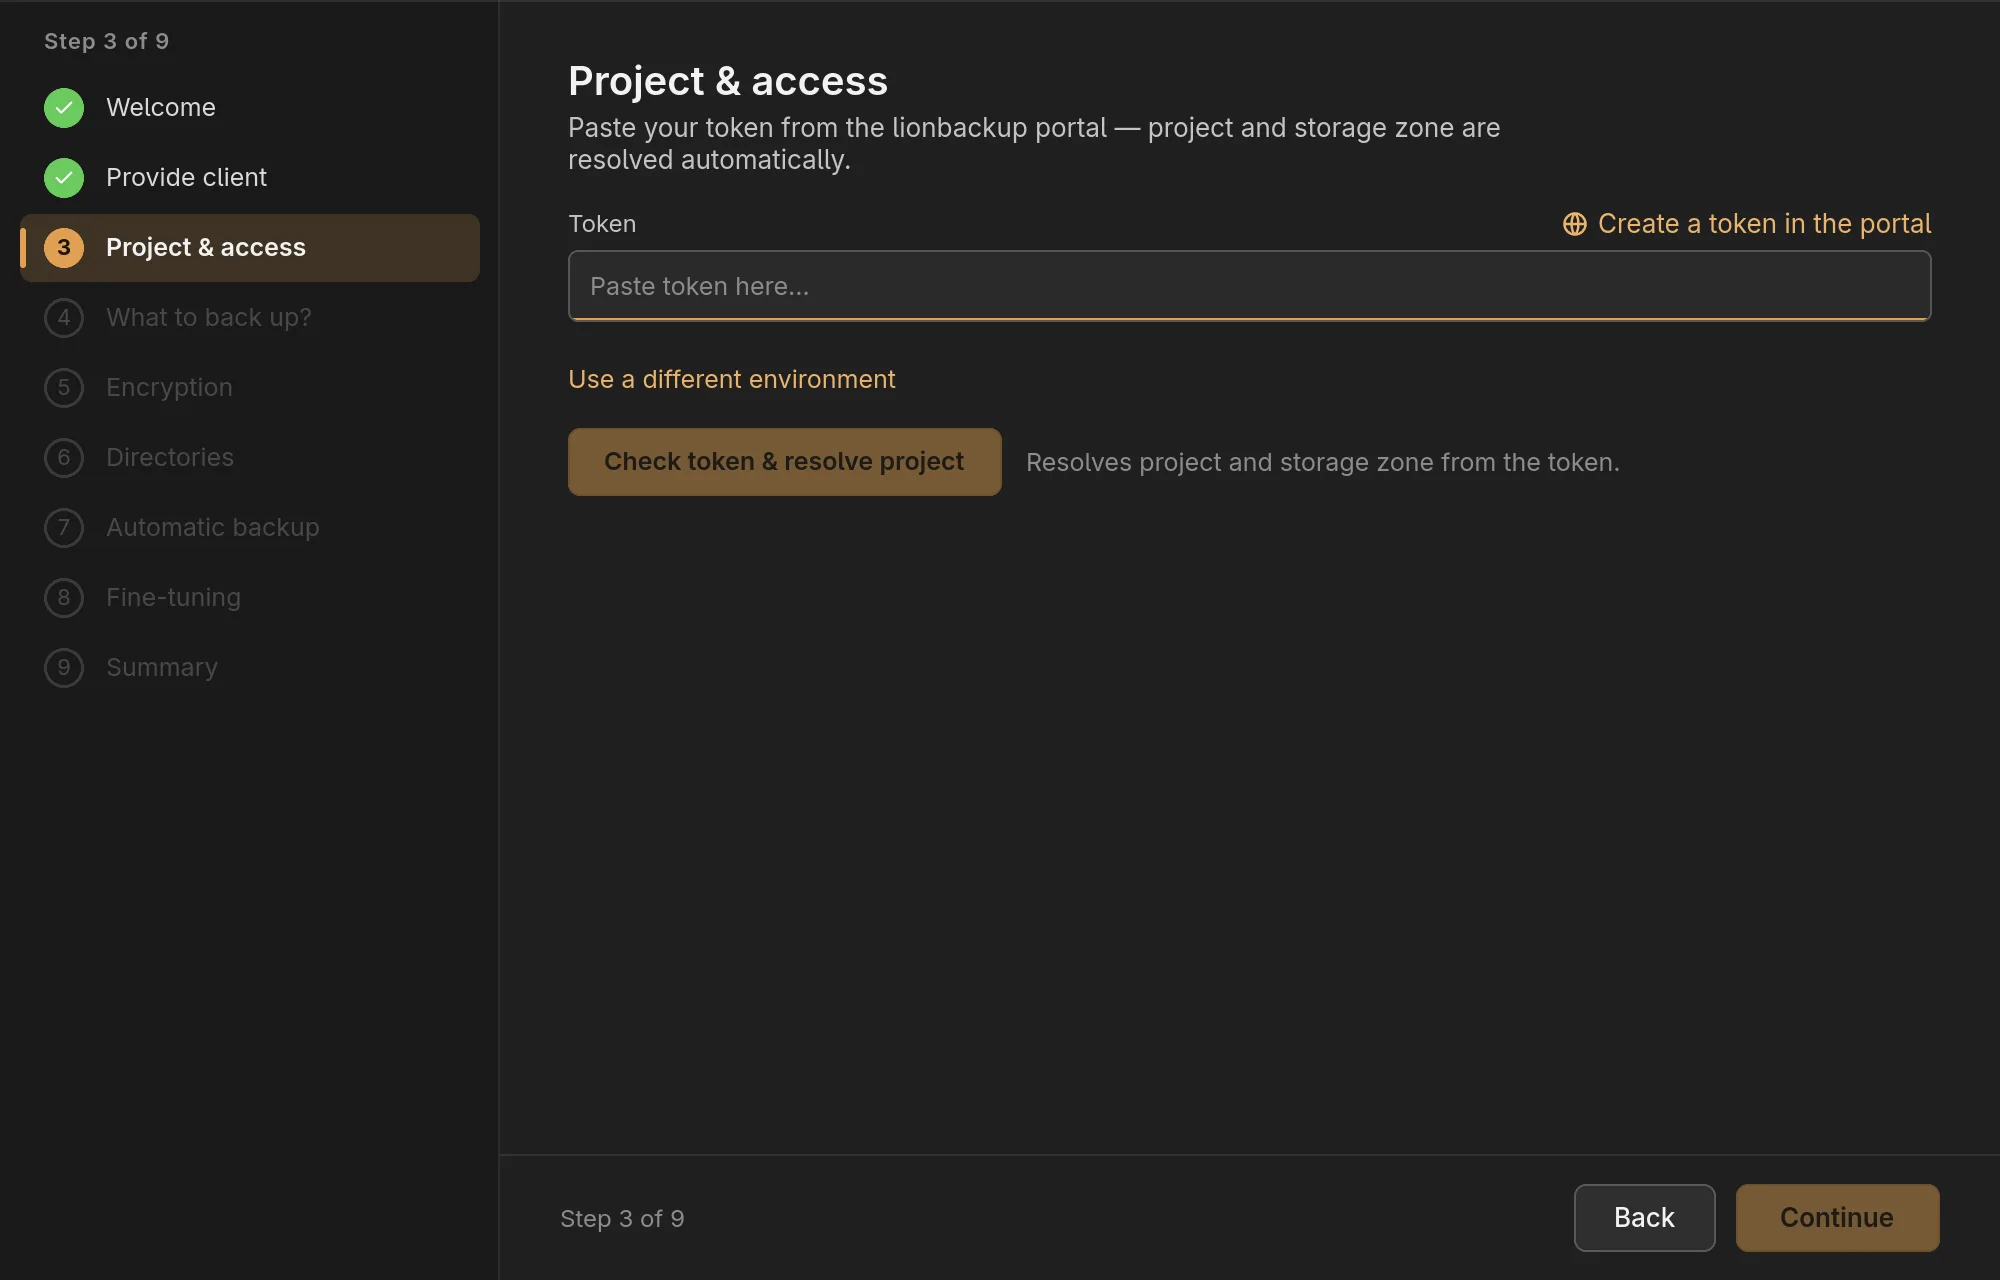
- Create an access token of type Write in the lionbackup portal — Create a token in the portal opens the page. The portal shows the token only once; copy it right away.
- Paste it into the Token field.
- Check token & resolve project — the wizard asks the portal for the project and the storage zone.
Use a different environment is meant for test environments only. If the portal cannot be reached, you can enter the project ID and storage zone by hand.
4. What to back up?
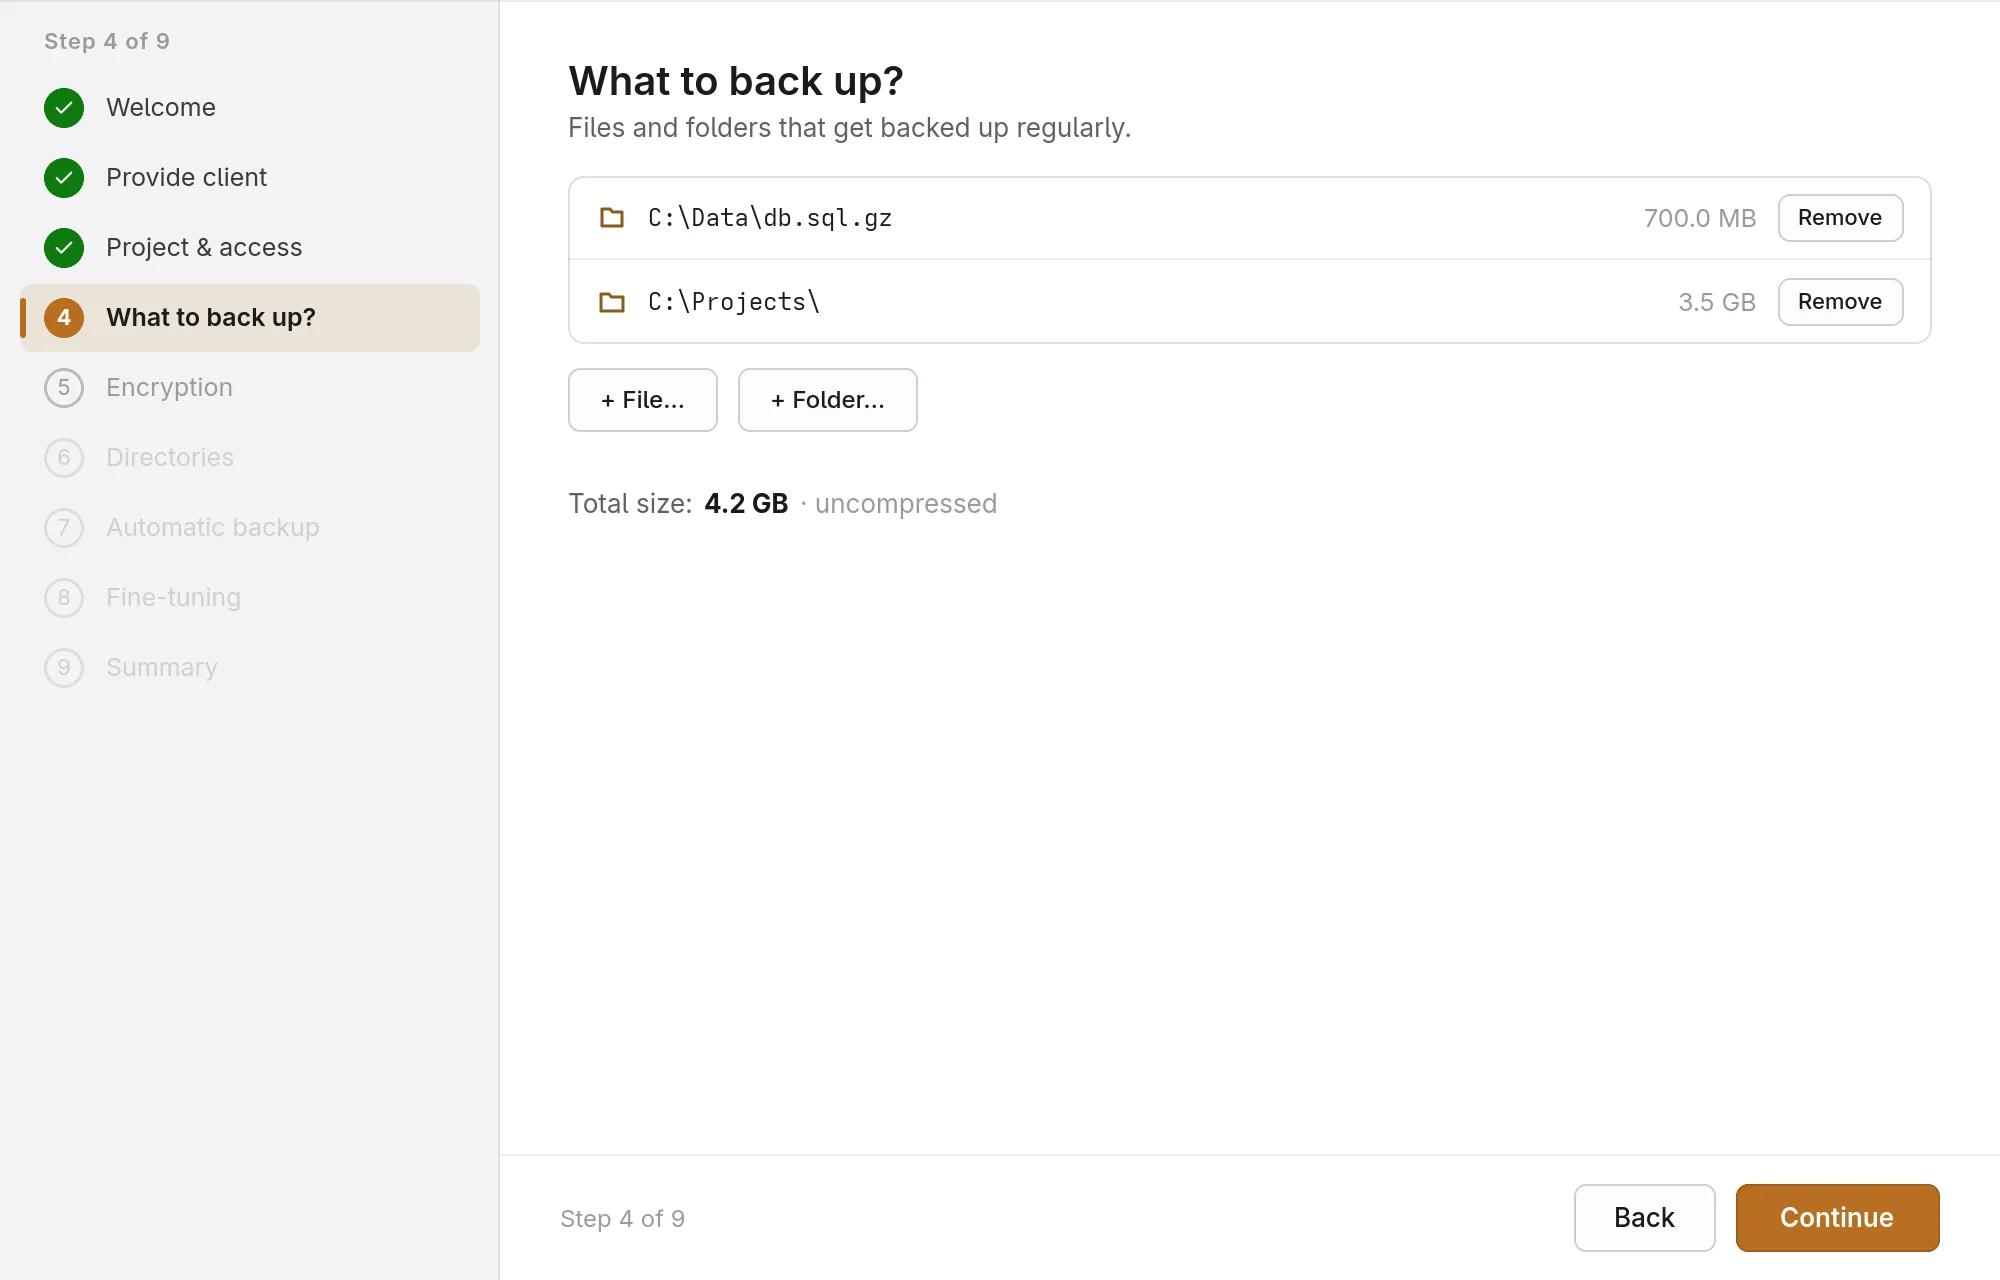
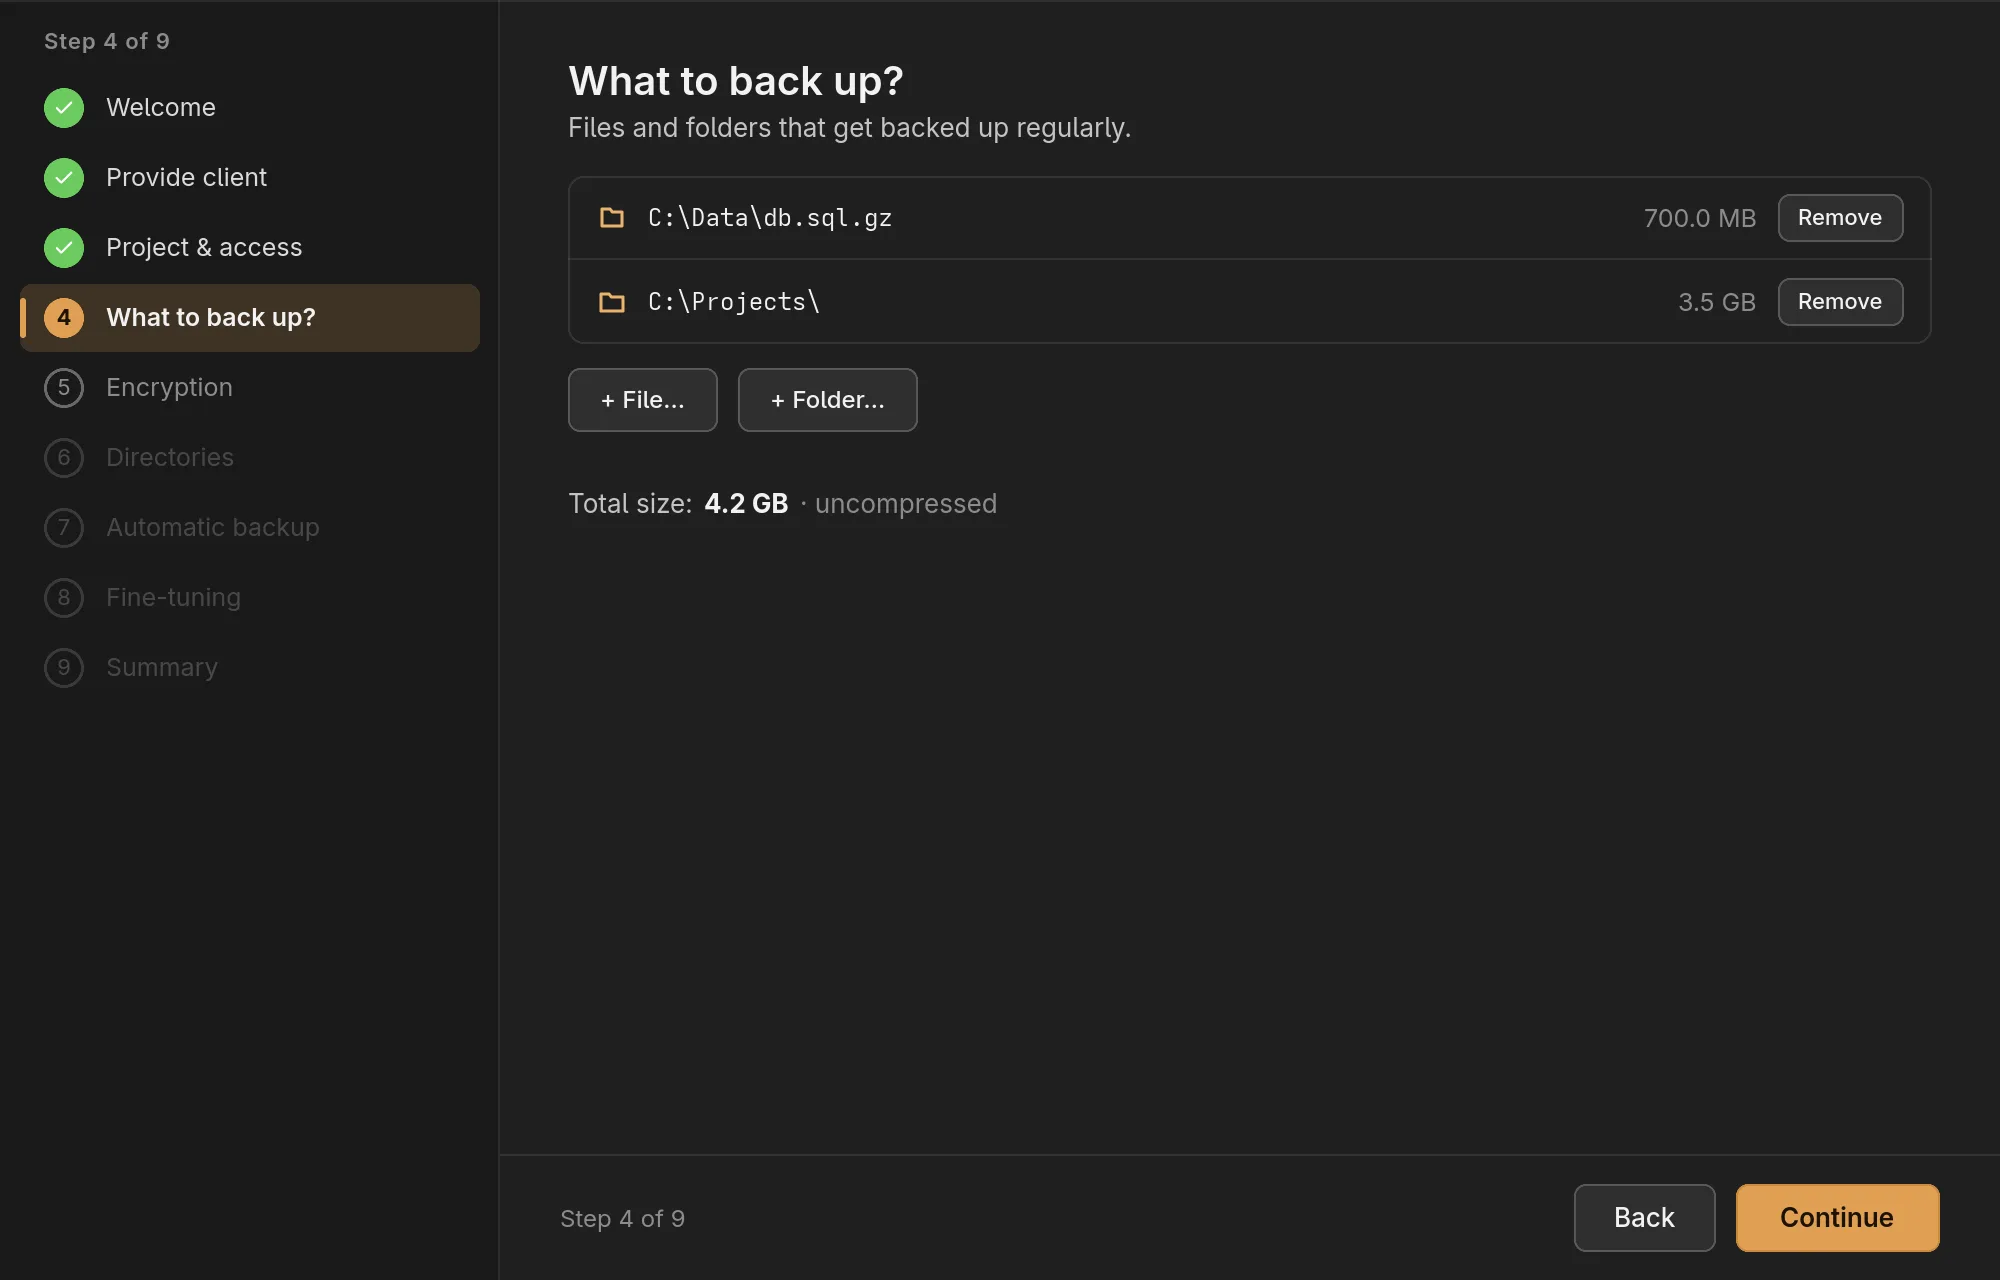
With + File… and + Folder… you choose what is backed up. The wizard shows each entry's size and the total before compression. You can change the selection later under Configuration.
5. Encryption
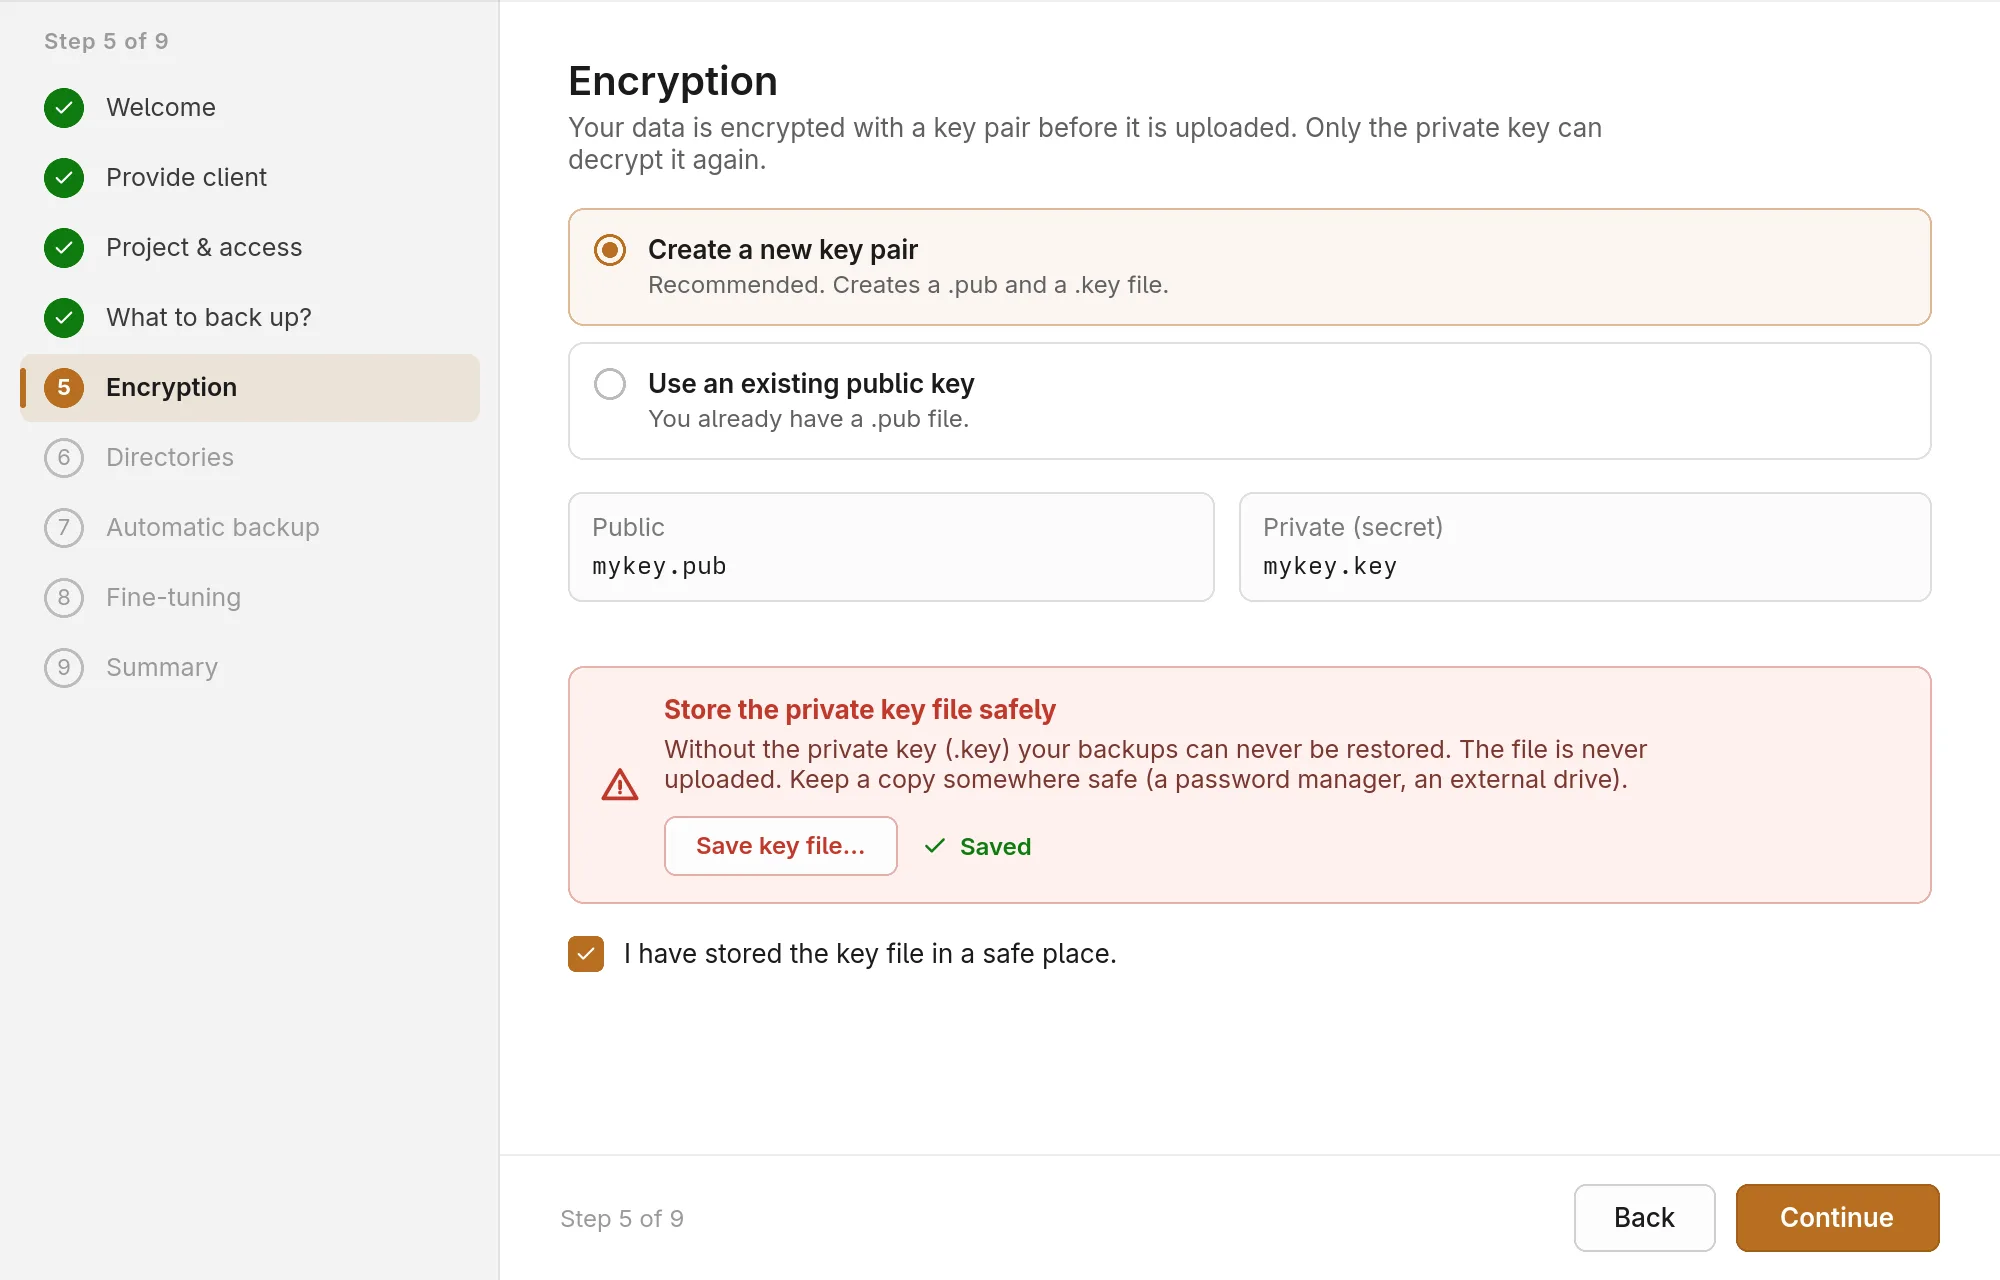
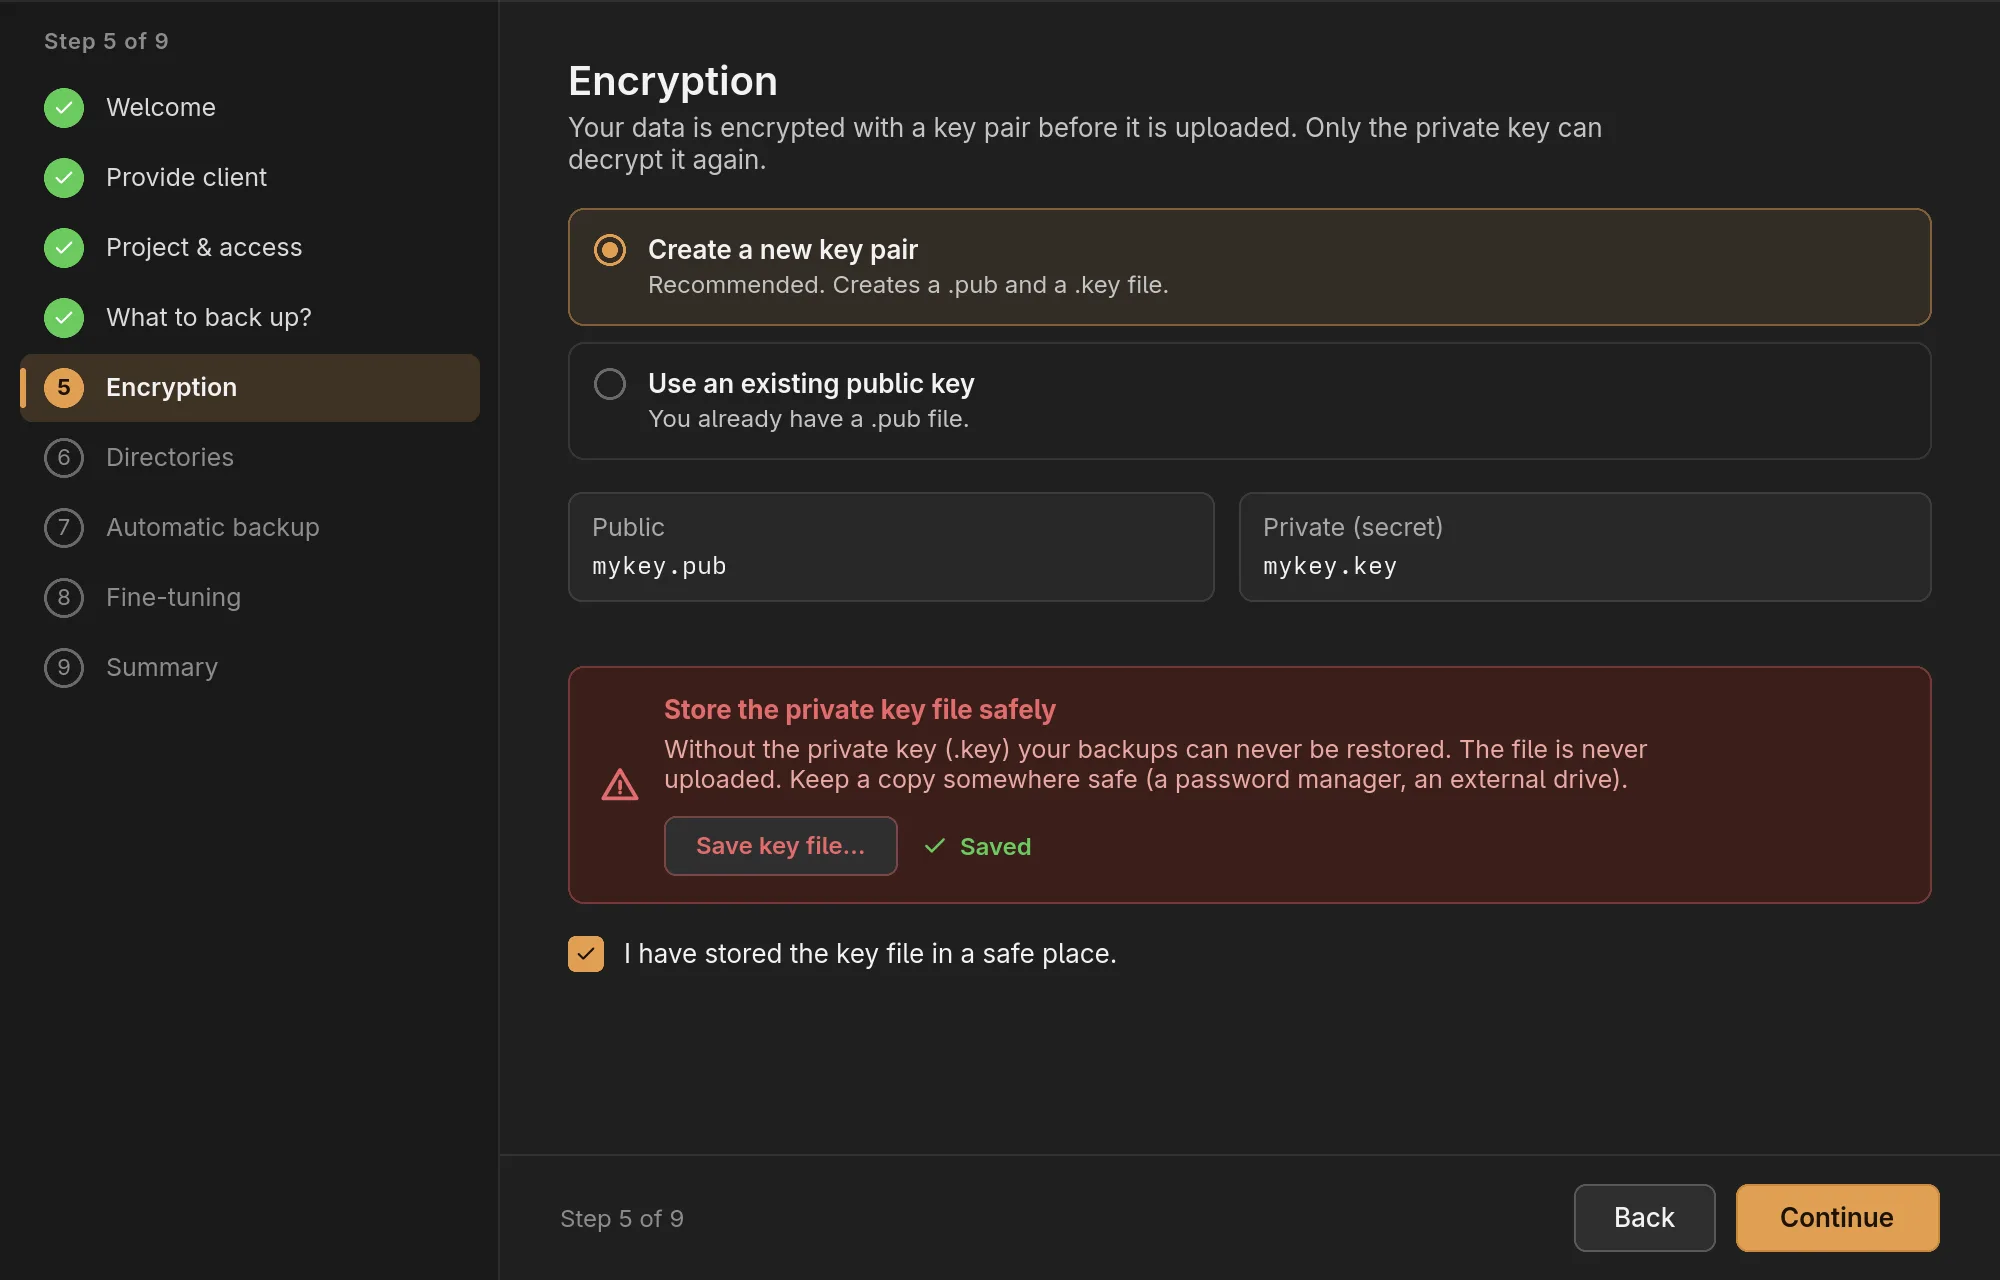
Your data is encrypted with a key pair before it is uploaded. The public key
(.pub) encrypts; only the private key (.key) decrypts again.
- Create a new key pair (recommended) creates both files. Store the private one in a safe place with Save key file… and confirm that with the tick box below — only then can you continue.
- Use an existing public key takes a
.pubyou already have, for example to back up several computers with the same key.
The wizard keeps no copy of the private key, and it is never uploaded. Keep it apart from the backed-up data, for example in a password manager or on an external drive. Without it no backup can be restored.
6. Directories
The defaults in the lionbackup folder suit most cases:
- Working folder (scratch space): where the encrypted files are created briefly before the upload. It needs room for the largest source.
- Key folder: the public key; you store the private one yourself.
- Also write the log to a file: the runs' logs as files as well, not only in the wizard.
7. Automatic backup
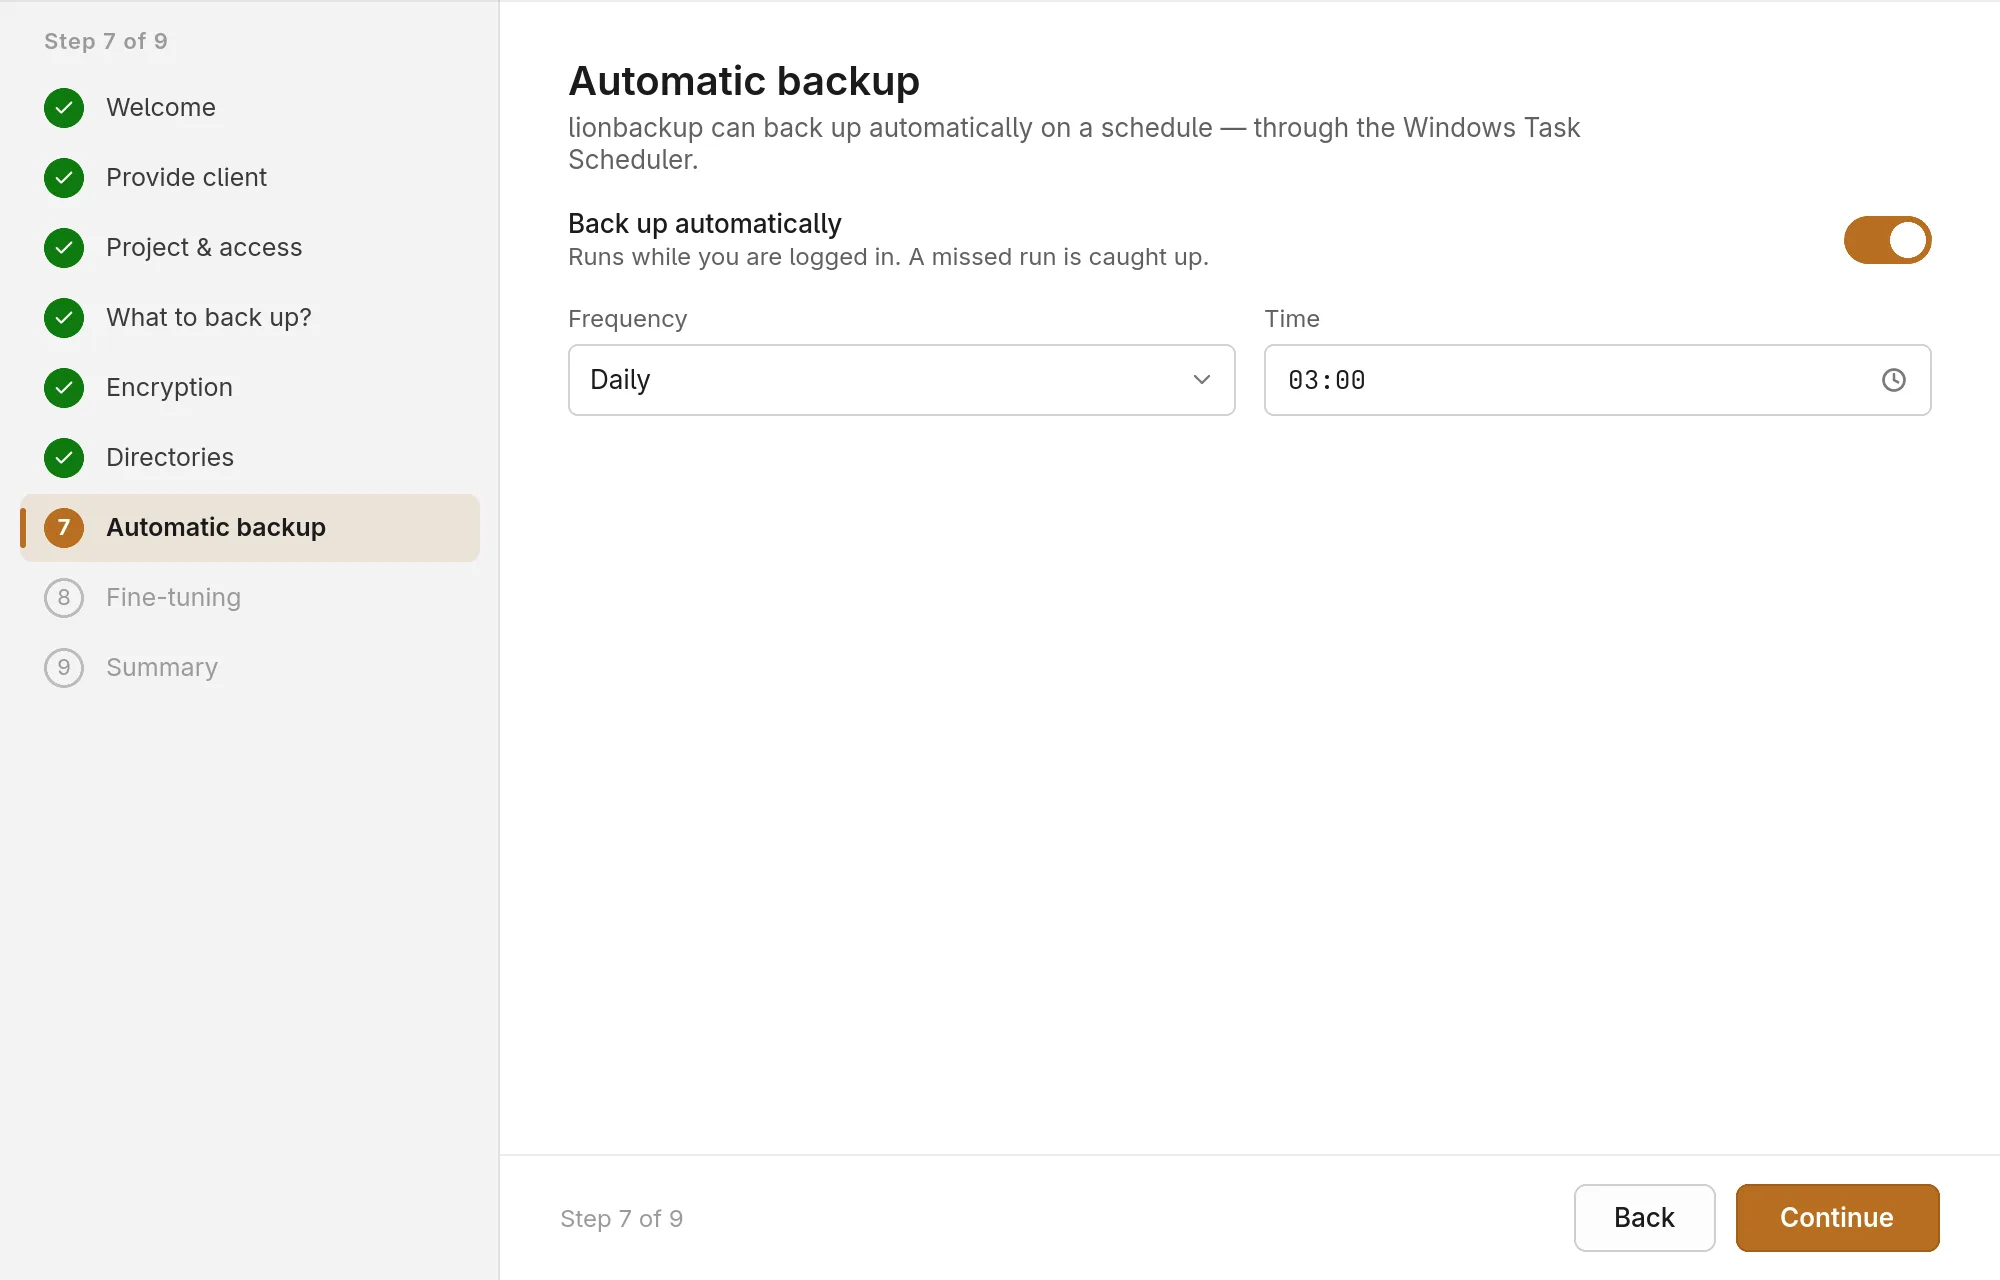
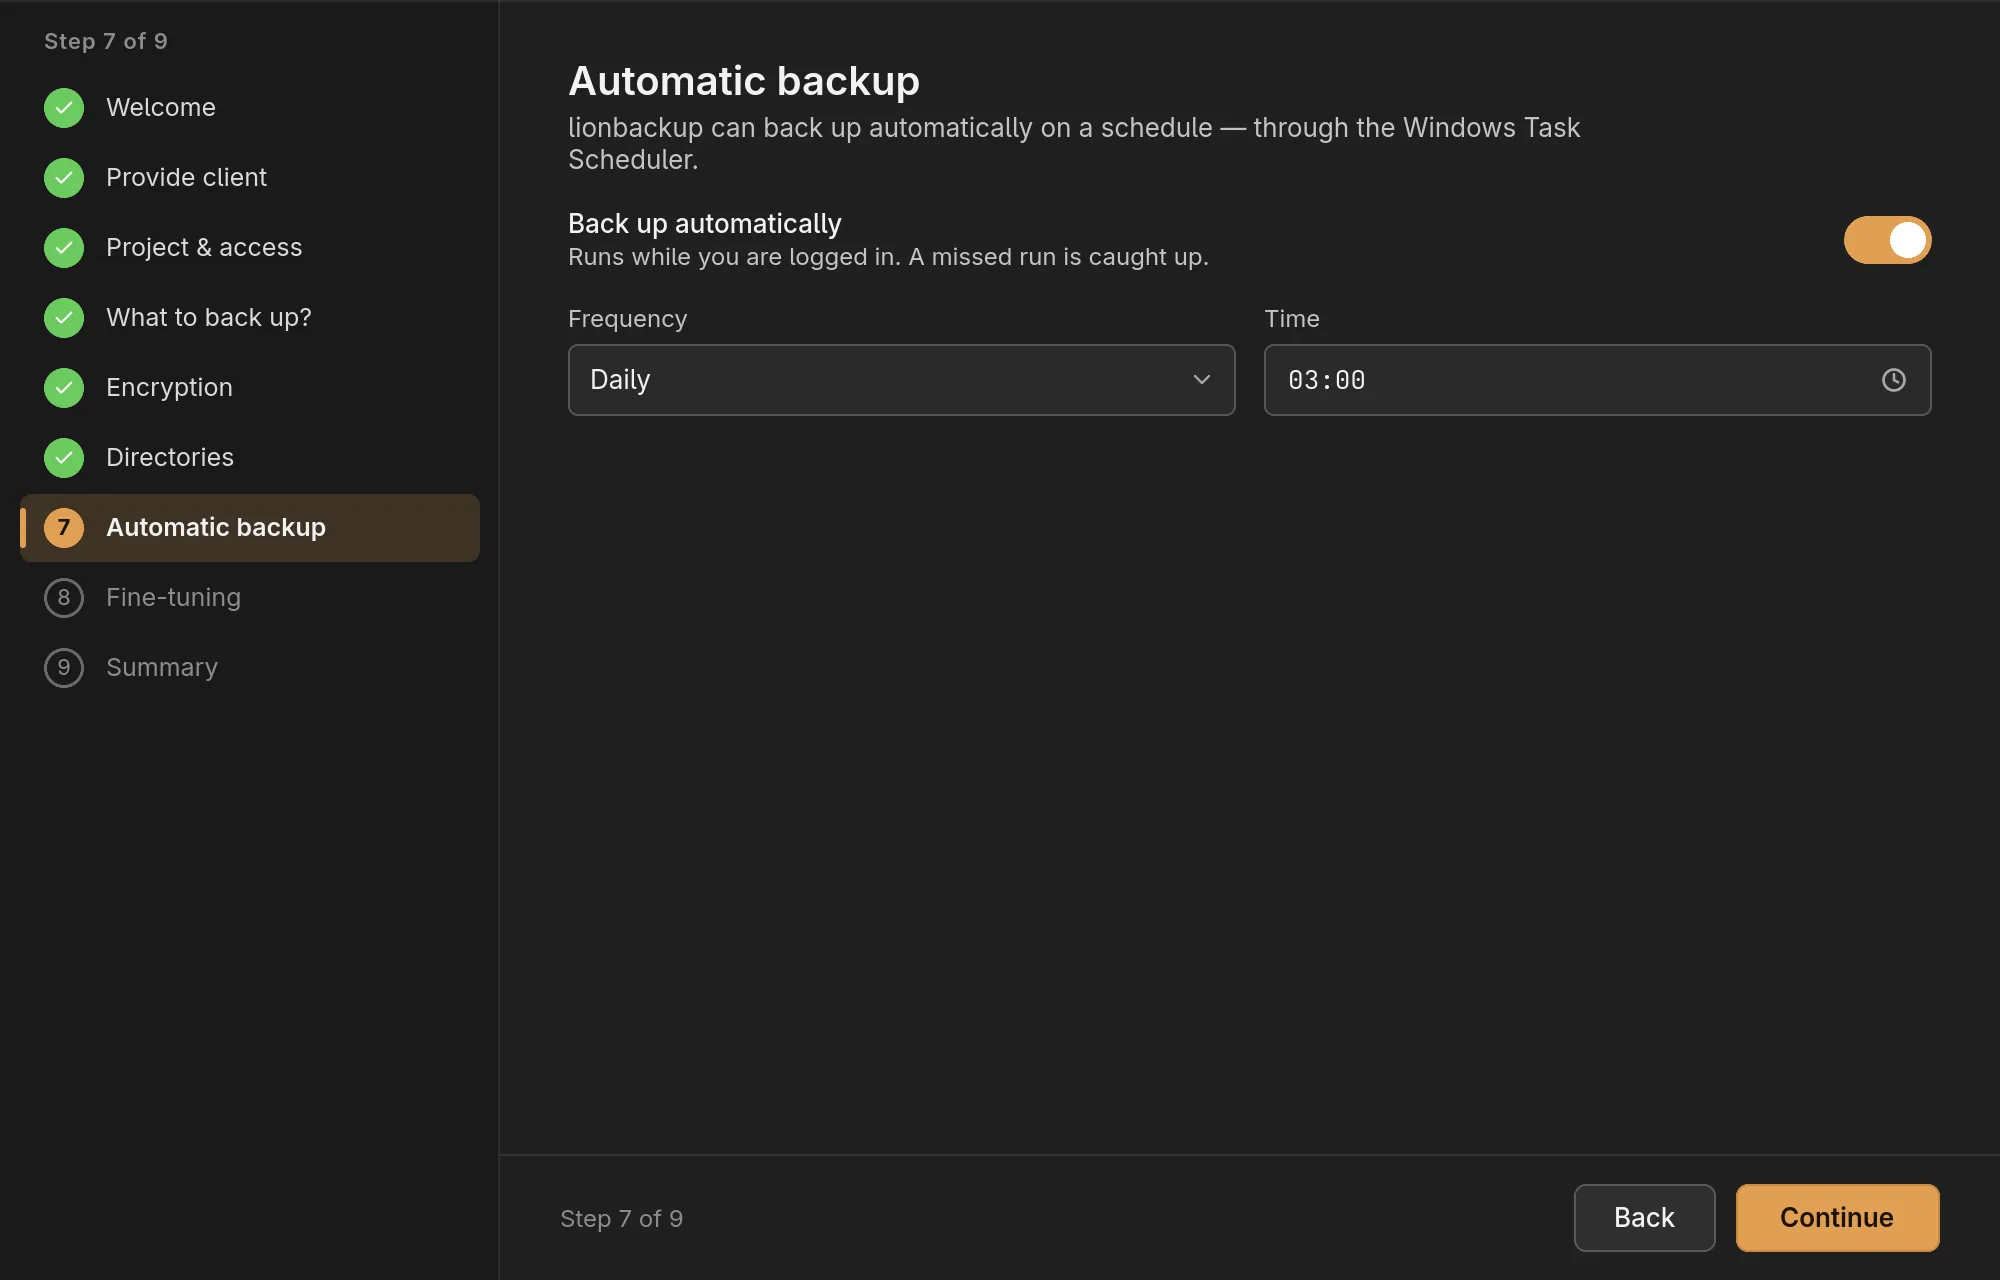
A daily backup at 03:00 is preset. You can adjust Frequency and Time here; the Back up automatically switch turns it off. On Windows it runs as SYSTEM, and only an administrator may set it up. While the wizard runs without these rights, the step says so; you catch up under Schedule after saving. More under Automatic backup.
8. Fine-tuning
Optional: Show advanced settings opens compression, environment, chunk size and more. The defaults are right for most cases; you can skip this step with Continue.
9. Summary
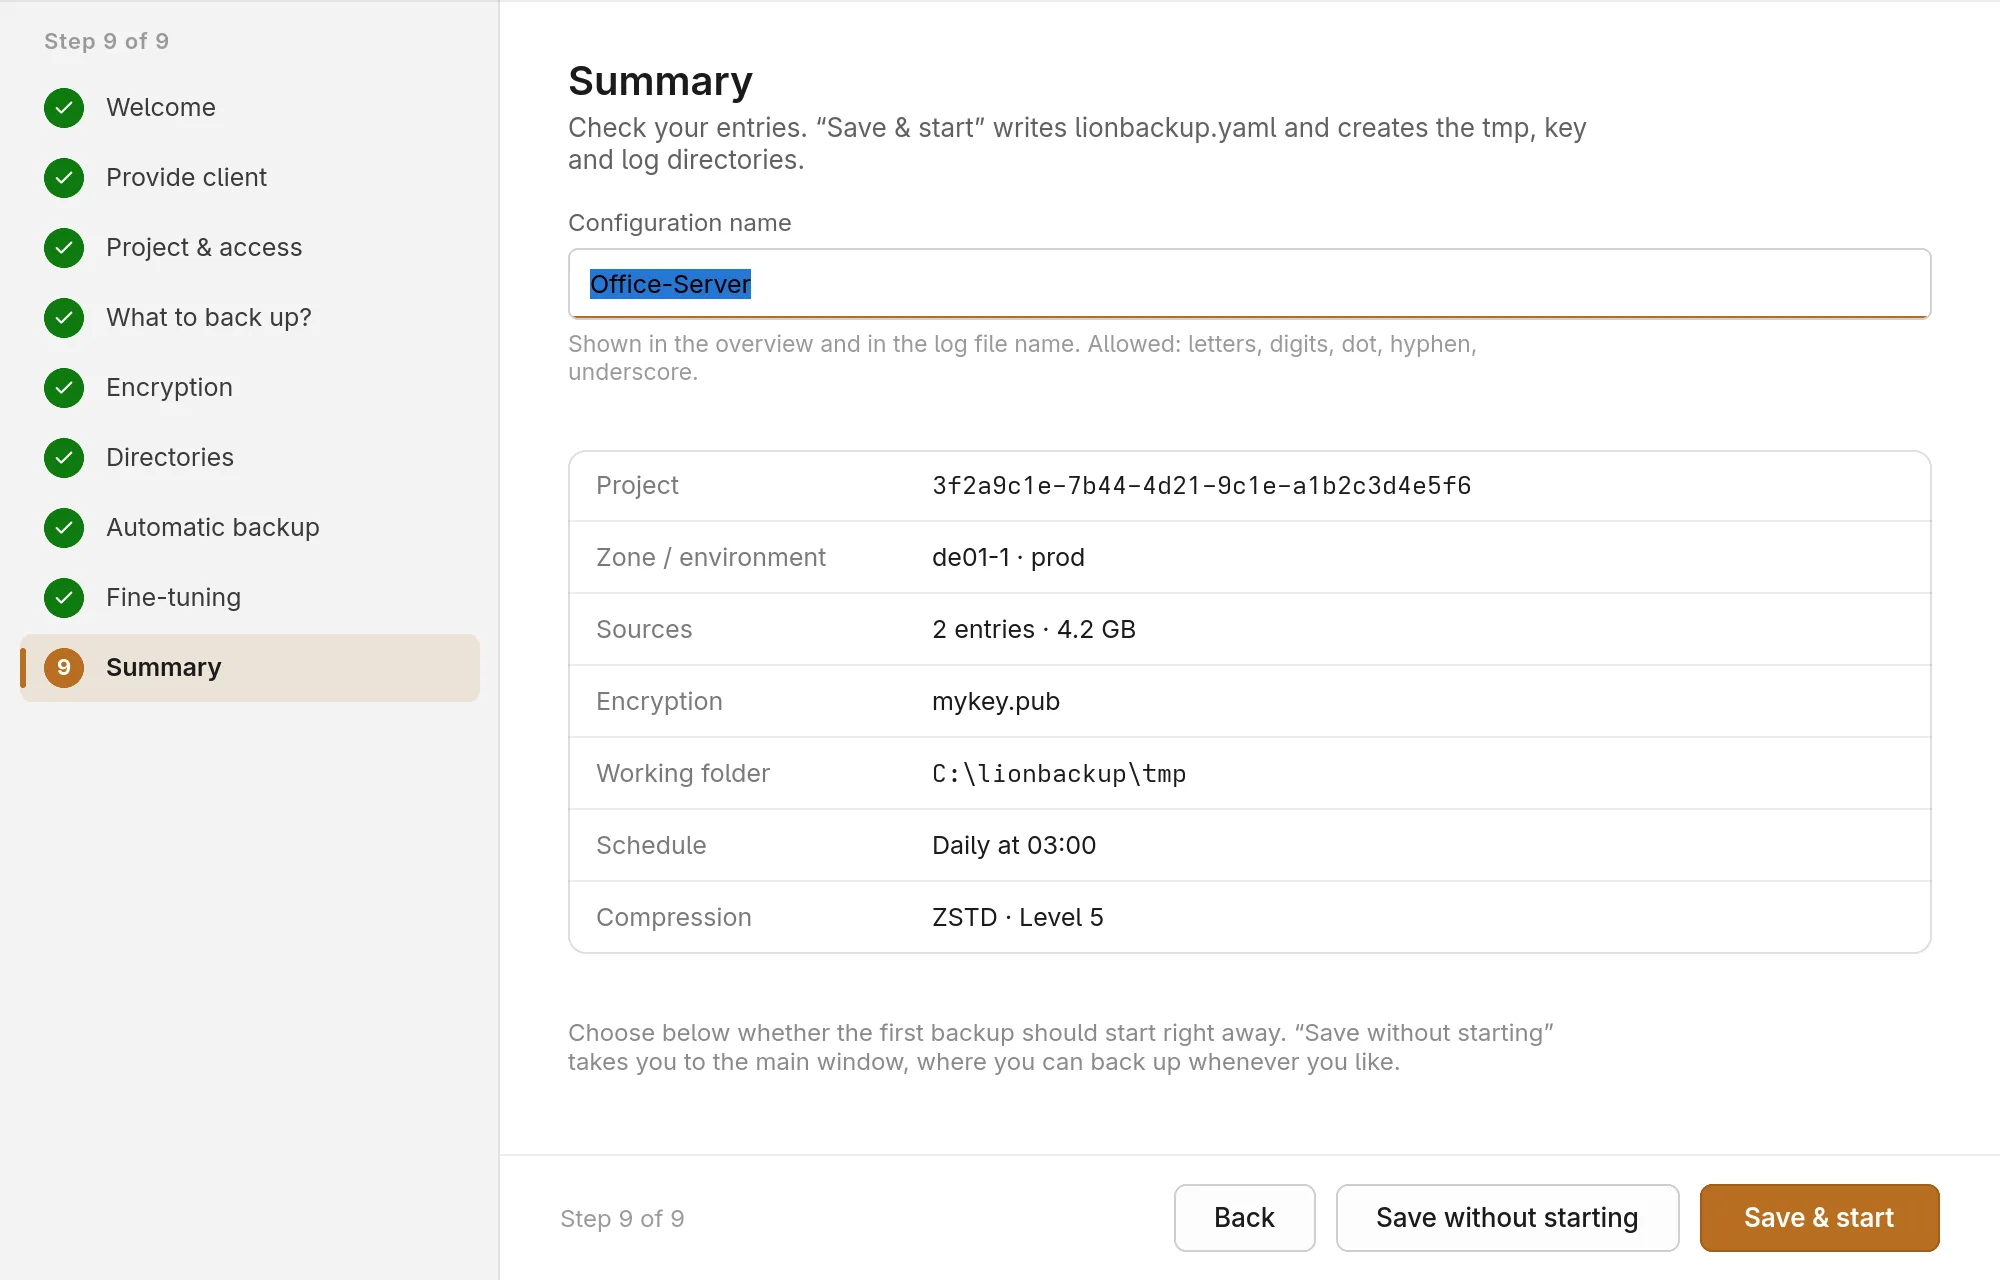
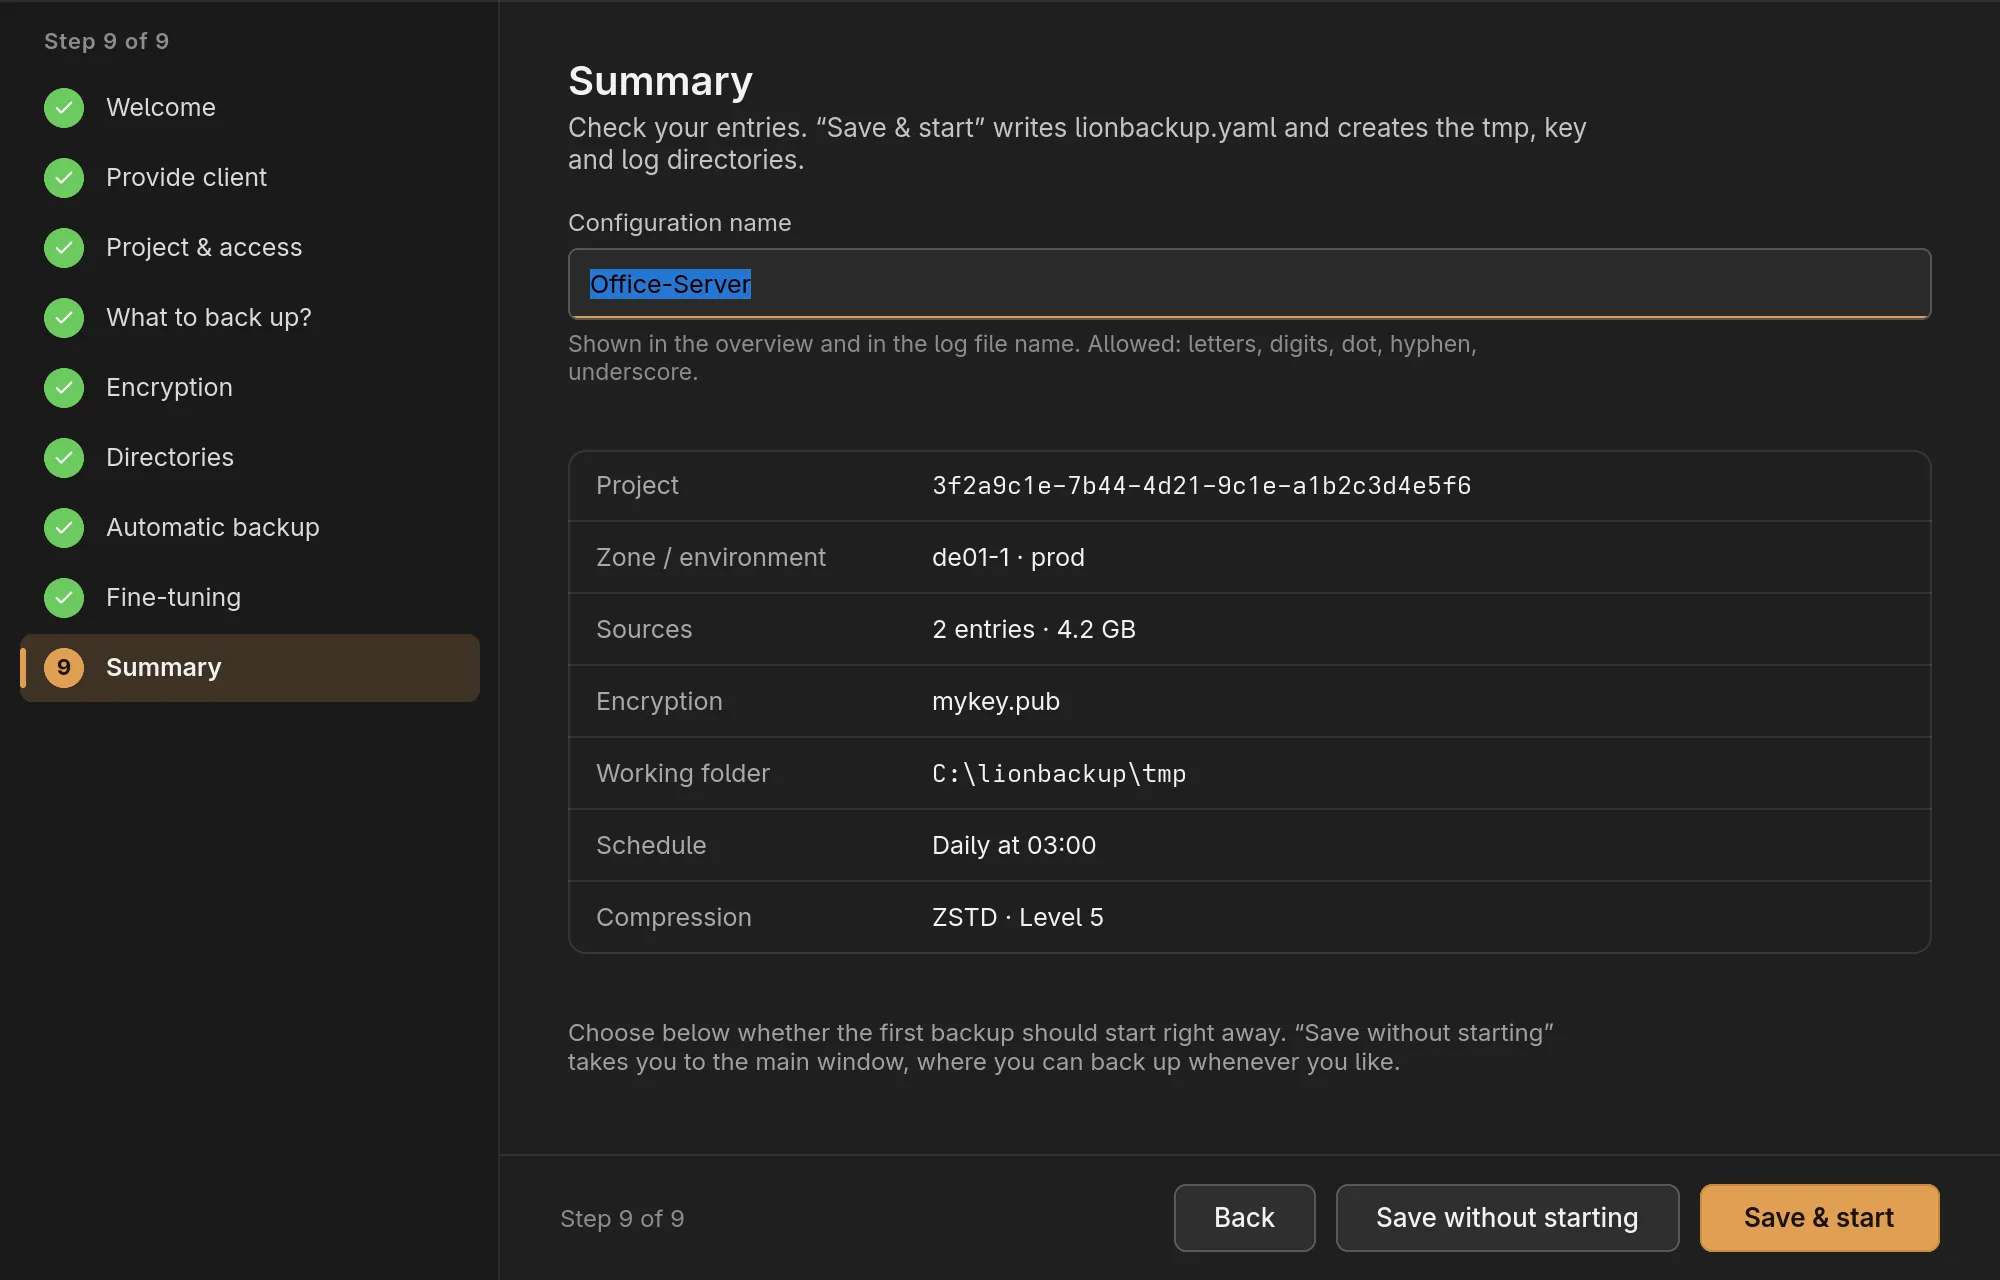
The wizard suggests a Configuration name; it appears in the overview and in the name of the log file. Check your entries, then:
- Save & start writes the
lionbackup.yaml, creates the folders, sets up the automatic backup and starts the first backup right away. - Save without starting does the same without a backup; you land in the main window and back up later yourself.
Continue with Backup & overview.